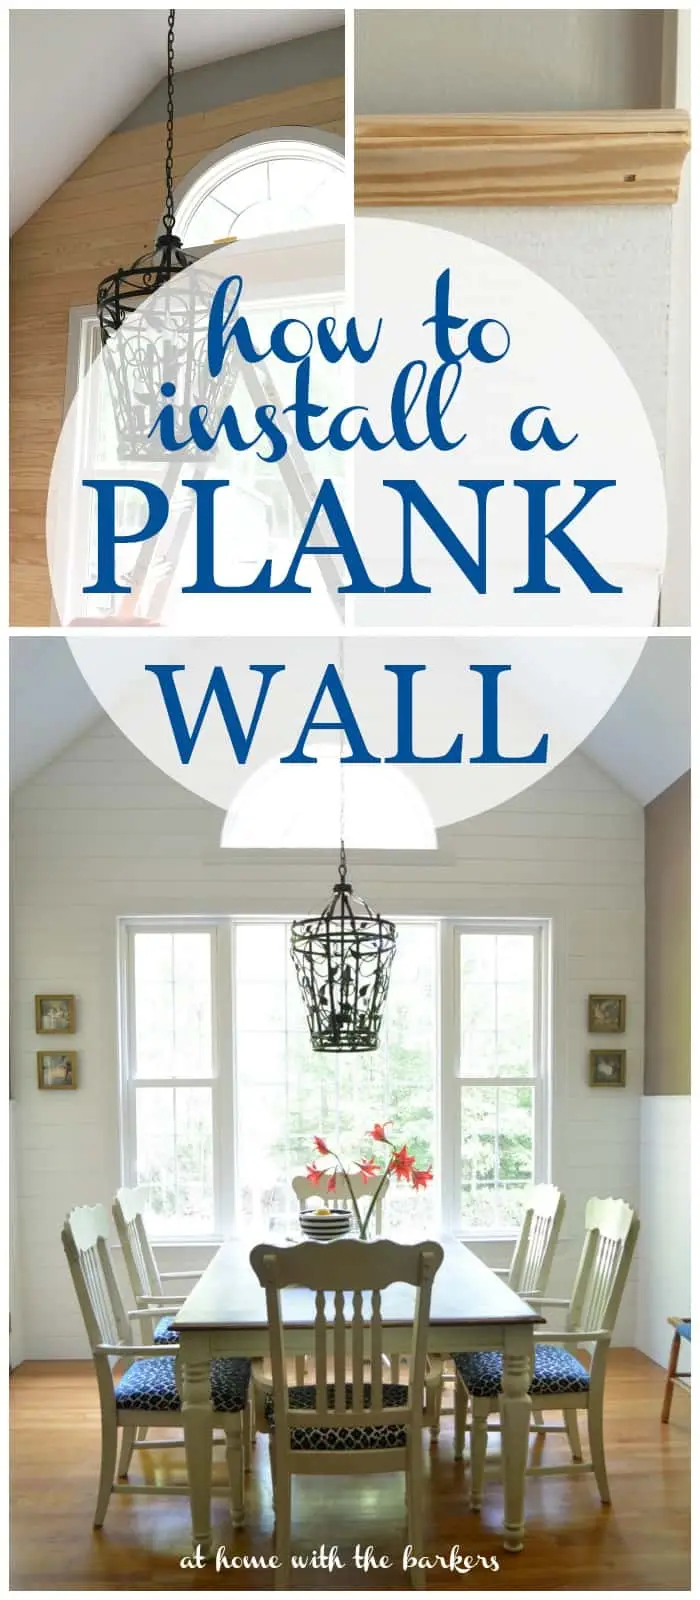
Comment installer un mur en planches
Oh mes amis, cela fait quelques semaines que le relooking de la cuisine est terminé et il y a beaucoup d'articles détaillés que je vous avais promis, notamment sur la façon d'installer un mur de planches. Après avoir terminé la rénovation de la cuisine, j’ai ressenti le réel besoin de remettre de l’ordre dans beaucoup de choses dans la maison. Vous comprenez, j'en suis sûr. Lorsqu'une pièce reçoit un traitement royal, les autres ne le sont PAS !
Le besoin de se débarrasser de beaucoup de choses, de nettoyer, d'organiser et de purger était écrasant. J’ai demandé ce livre pour la fête des mères et il a totalement changé ma façon de penser et de faire en ce qui concerne ma maison. J'ai tout de suite été occupé, c'est pourquoi je n'ai pas blogué sur tous les détails de la cuisine jusqu'à présent.
J'ai toujours aimé faire de notre maison un chez-soi, mais pas seulement à cause des « choses » qui la rendent jolie. mais à cause du sentiment que je veux évoquer pour ma famille. DIEU m'a béni avec cette maison et cette famille, en faire un lieu de refuge, c'est ce que mon cœur désire.
Quoi qu'il en soit... voici comment installer un mur de planches.
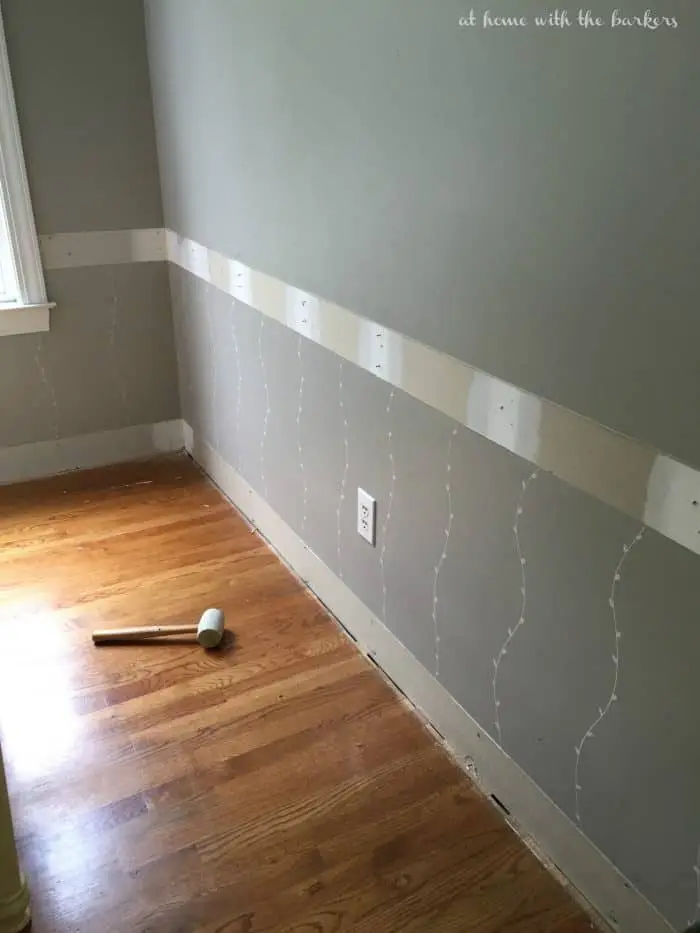
Nous avions une garniture obsolète. faisant le tour de notre chambre que nous avons dû retirer. Si vous avez besoin de savoir comment procéder, vous pouvez en savoir plus ici où nous avons fait la même chose dans la salle à manger.
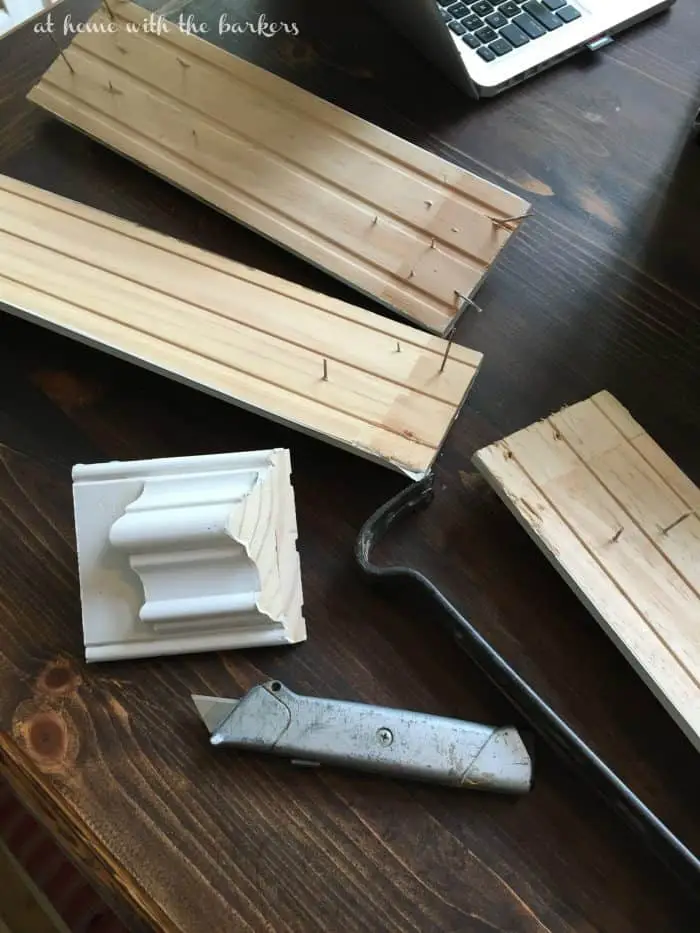
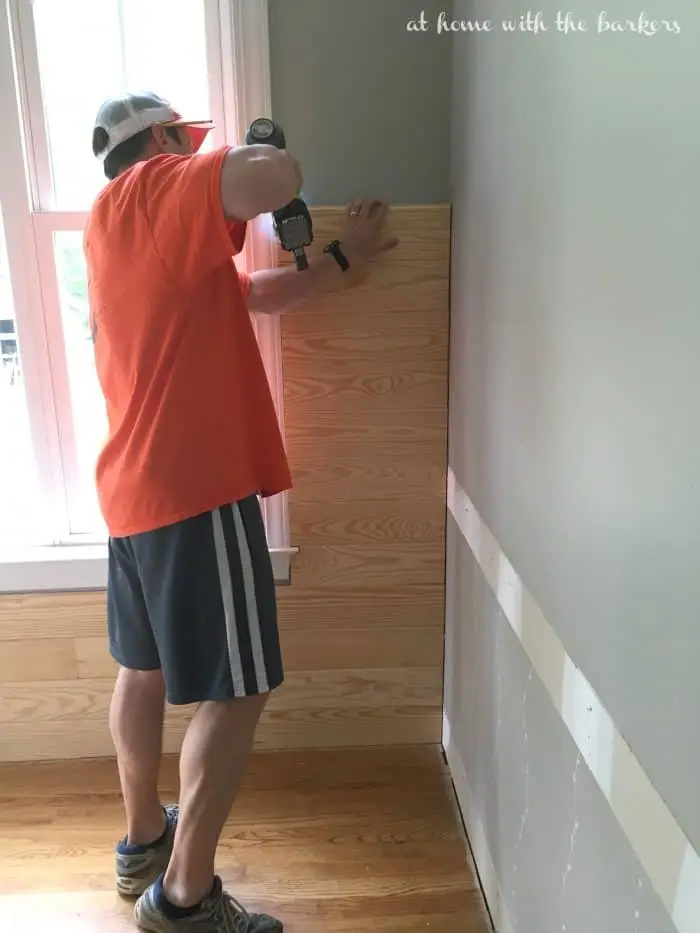
Pour Pour nos murs en planches, nous avons utilisé des planches de pin à rainure et languette de 6 pouces que nous avons achetées dans un magasin de rénovation domiciliaire. Nous avons acheté des planches de 8 pieds et 10 pieds de longueur. Le mur que vous voyez ci-dessousla photo est l'endroit où nous avons utilisé les planches de 10 pieds. Les coutures ne me dérangeaient pas mais je voulais les garder au minimum. J'ai également acheté du bois de qualité moyenne sans tous les nœuds.
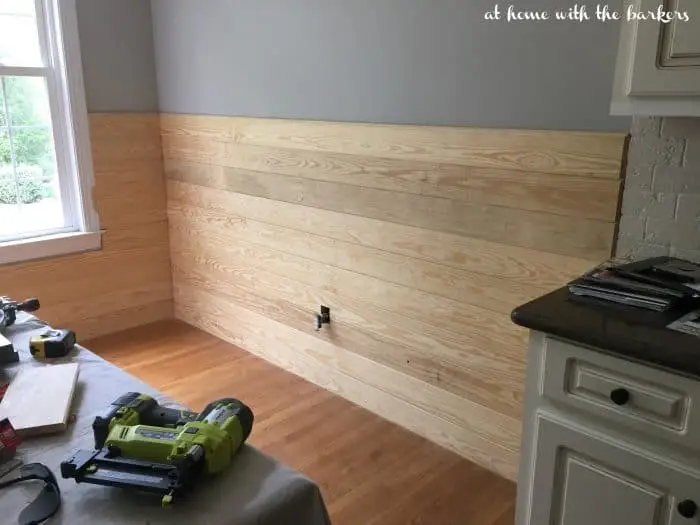
Assembler les planches est assez simple. Ils s'emboîtent parfaitement. Nous avons ensuite utilisé notre cloueuse de finition Ryobi pour les fixer ensemble. Nous avons cloué au-dessus de la planche près de la rainure pour que les clous soient cachés.
Je dois vous le dire avant d'aller plus loin ... assurez-vous que votre TOUTE première planche est de niveau avant il est cloué au mur. Les murs et les sols changent avec le temps, alors ne pensez JAMAIS que vous pouvez aligner la première planche avec le sol et tout va bien, GROSSE erreur.
La deuxième chose que je dois vous dire avant d'aller plus loin ...celui-ci a été appris après à propos d'une maison de frustration. Comme vous pouvez le voir sur les petits côtés près de la fenêtre, nous essayions d'utiliser toutes les extrémités coupées des longues planches en veillant de près à rester au niveau d'un côté à l'autre. MAIS plus nous montions haut dans le mur, plus les côtés devenaient inégaux ! Voici ce que nous avons réalisé, les planches de 8 pieds et les planches de 10 pieds n'avaient pas exactement la même largeur... ARGH !!! Ils étaient juste assez décalés pour que si nous avions utilisé les différentes tailles, au moment où nous sommes arrivés en haut de la fenêtre, il y avait une grande différence.
Suivez notre conseil et achetez toutes vos planches de la même longueur si possible, sinon, assurez-vous qu'ils ont la même largeur.
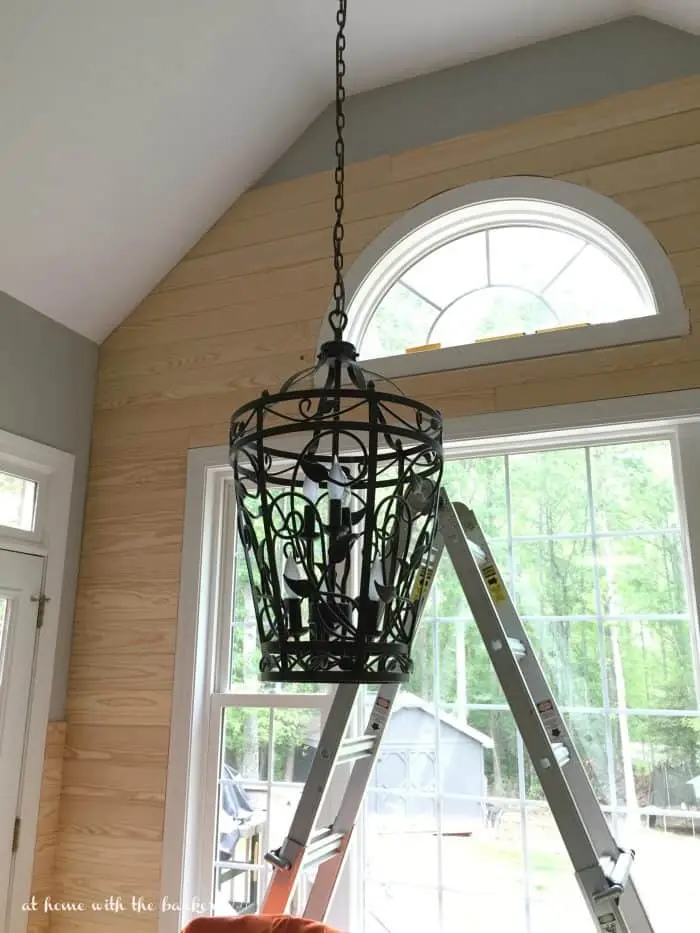
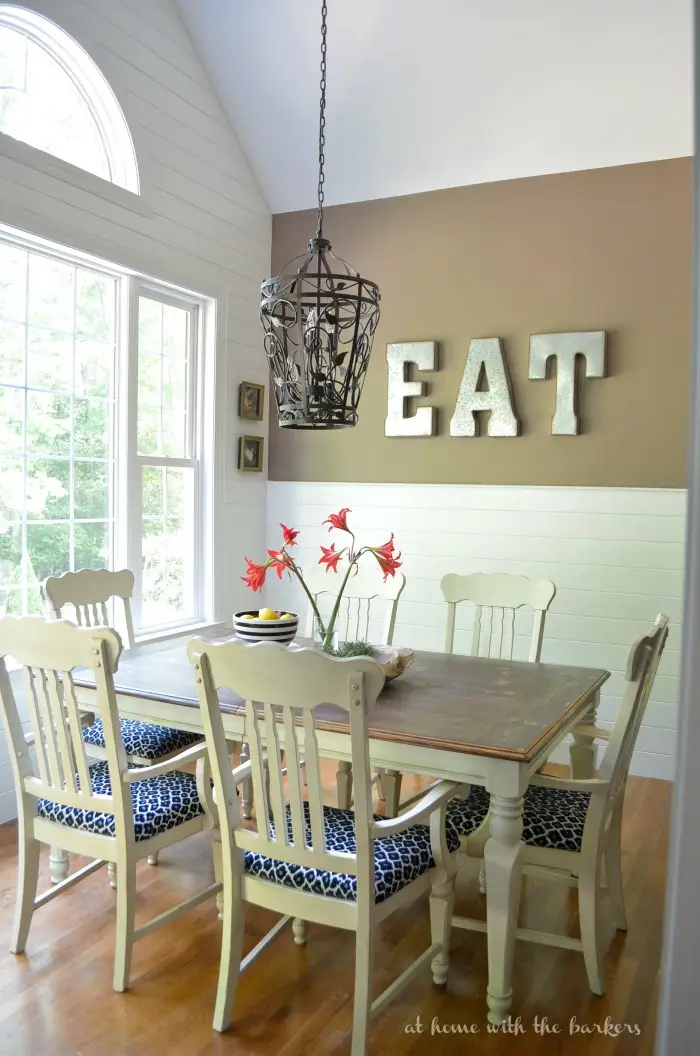
Mon mari, mathématicien, a pu comprendre l'arc, planche par planche, pour la fenêtre en demi-lune. Je ne vais pas mentir… J'étais inutile là-bas. Ce n'est pas pour les débutants et si vous voulez l'essayer, ayez quelques planches supplémentaires et de la patience, MDR !
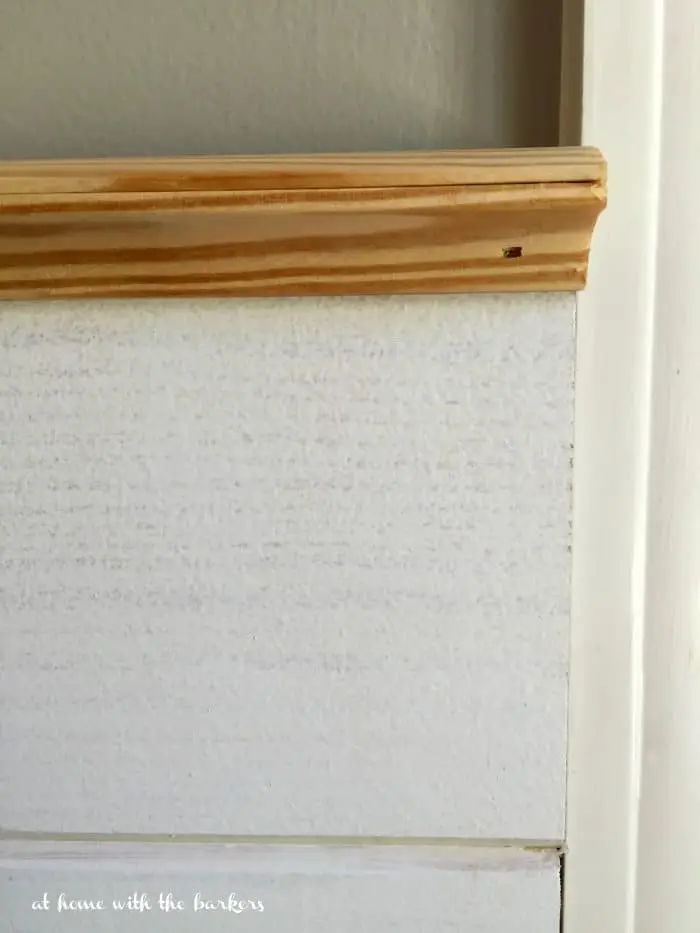
J'ai décidé que je voulais que le mur du fond aille jusqu'au plafond mais pas les murs latéraux. Je voulais un espace mural peint. Pour donner aux côtés un aspect fini, nous avons acheté deux types de garnitures de finition et les avons ajoutées. Il existe de nombreux choix, alors ils choisissent ce que vous préférez.

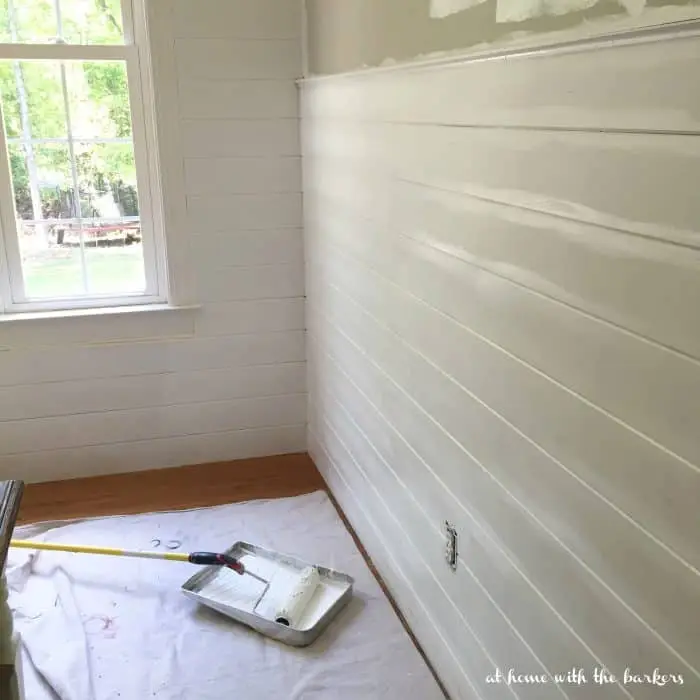
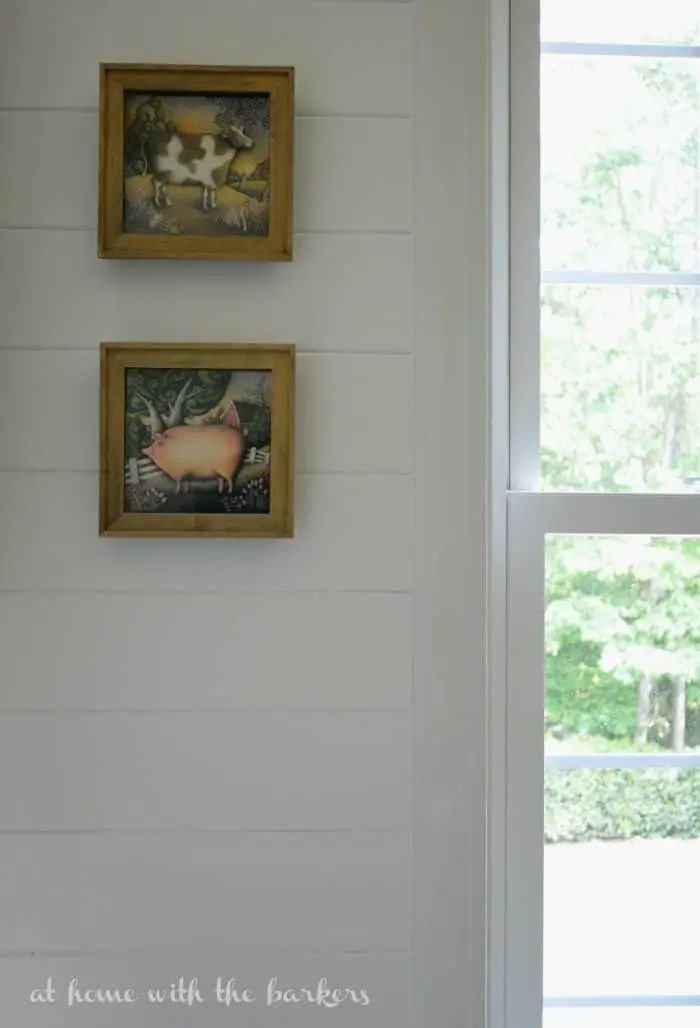
Ensuite, la partie amusante commence... PEINTURE ! Avant, je détestais peindre et je ne le faisais que parce que nous étions pauvres. C’est vraiment vrai, mais avec le temps, j’ai fini par l’adorer. J'ai d'abord apprêté, puis j'ai tout peint en blanc. Le pin blanchi est la couleur. Ce que j'aime, ce n'est pas du blanc pur.
La meilleure façon de peindre des rainures et des languettes est d'abord d'utiliser un pinceau pour peindre l'intérieur des fissures. sur la photo ci-dessous, vous pouvez voir la peinture humide sur l'apprêt. Ensuite, utilisez un rouleau pour le reste.
J'aime tellement mes murs en planches. Voici un rapide aperçu de la salle avant l'avant...
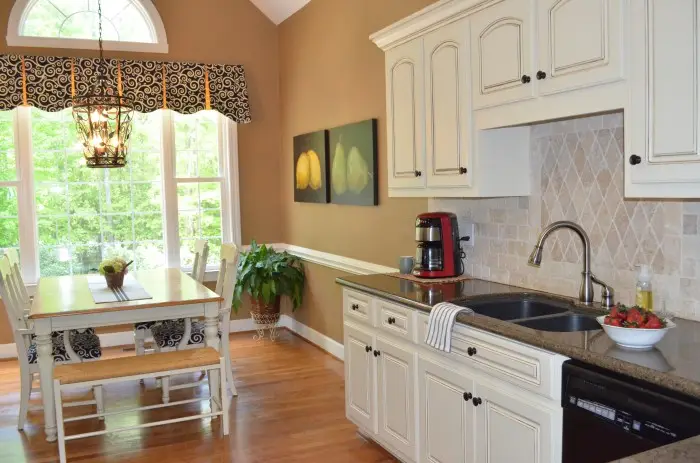
puis l'avant....
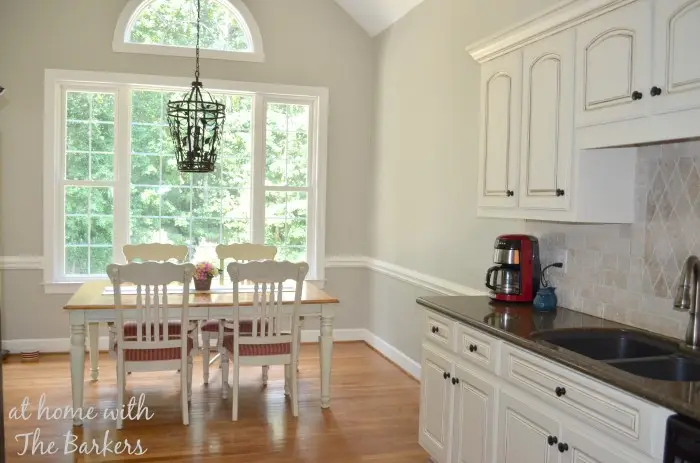
L'APRÈS...
Je publierai bientôt plus de détails sur la transformation de la cuisine.
Je J'ai déjà partagé comment j'ai récupéré les chaises de cuisine ICI.
Assurez-vous d'ajouter votre email à ma liste d'abonnés en haut de la page afinvous serez le premier à voir tous les nouveaux messages. La transformation de la cuisine était un projet de 6 semaines que vous pouvez voir dès le début de la SEMAINE 1.

Lien vers : Remodelaholic