Créer un didacticiel Pincushion
Bienvenue au 146e lundi de la métamorphose !
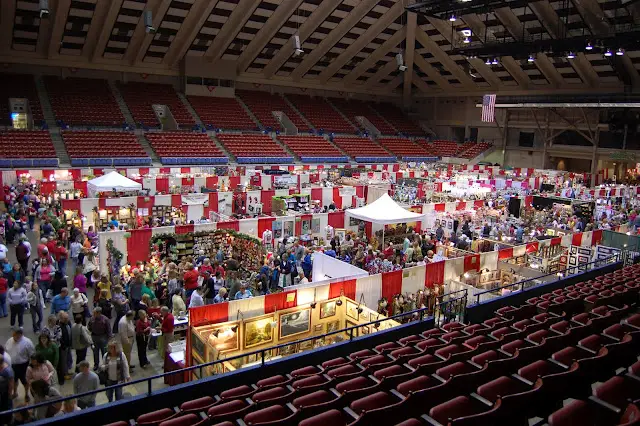
Salutations ! Comment s'est passé votre week-end ? J'espère que vous avez passé un week-end fabuleux ! J'ai passé le samedi à Macon, en Géorgie, avec ma sœur et ma nièce à la foire Christmas Made in the South . Mark Ballard était là et c'était si bon de s'arrêter et de discuter un peu avec lui. Est-ce que quelqu'un d'autre est allé à Christmas Made in the South ? C'était plein de monde comme vous pouvez le voir sur cette photo ci-dessous.
Fabriquez un coussin à épingles !
Il y a quelques semaines, j'ai assisté à un événement de bricolage incroyable. Au cours de cette fabuleuse soirée de bricolage, l'un des objets que nous avons fabriqués était un adorable coussin à épingles. Je pensais aujourd'hui à quel joli cadeau de Noël cela ferait, surtout s'il était rangé dans une petite boîte à couture.
Aujourd'hui, j'en ai créé un autre et j'ai pris des photos au fur et à mesure au cas où vous voudriez en faire un pour vous-même ou pour un ami. Pour fabriquer votre coussin à épingles, vous aurez besoin de :
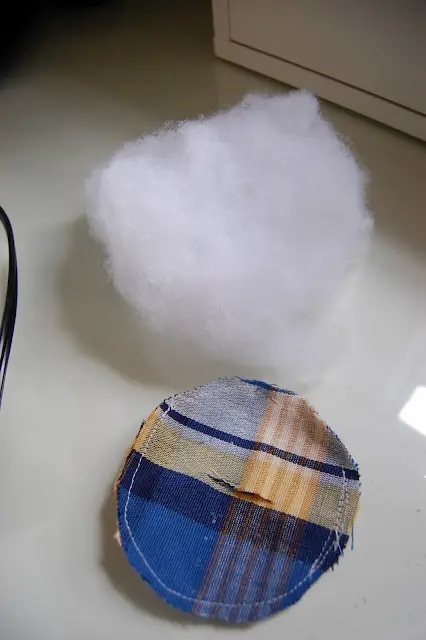
Rembourrage en polyester
Couvercle de pot (un couvercle de taille moyenne fonctionne bien et vous pouvez peindre votre couvercle à la bombe si vous le souhaitez)
Fil à broder ou fil fin
Aiguille à broder
Tissu de récupération
Un bouton qui va bien avec votre tissu
Reconnaissez-vous mon tissu de récupération ?
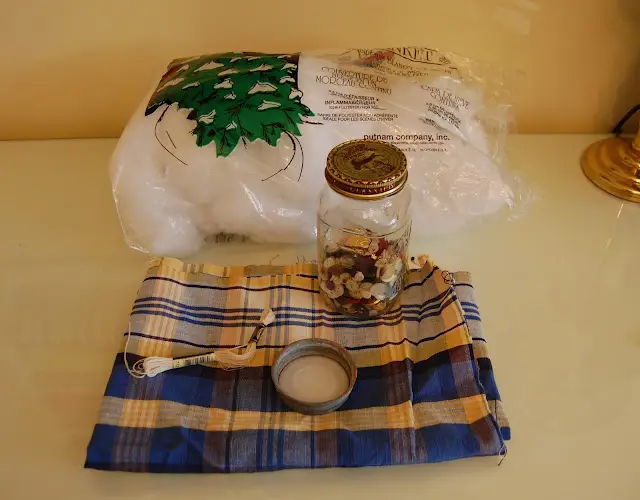
C'est un peu du tissu qui restait de la fabrication des coussins pour les sièges de la lucarne...
...situé dans la salle familiale à l'étage. C'est aussi le même tissu que celui des chaises de cette pièce.
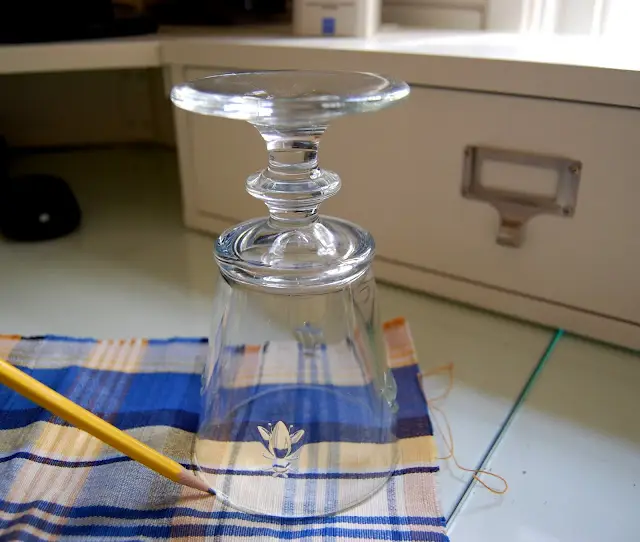
Pour fabriquer votre coussin à épingles, vous devrez trouver un verre ou un objet rond un peu plus gros que le couvercle de votre pot. J'ai utilisé un verre à abeille La Rochere. J'ai placé le verre sur le couvercle pour voir s'il était un peu plus grand que le couvercle en zinc. Max l'a inspecté et a déclaré qu'il était de la bonne taille.
Ensuite, à l'aide d'un crayon, dessinez deux fois le contour du verre sur le côté « envers » de votre tissu. Découpez les deux morceaux/cercles de tissu.
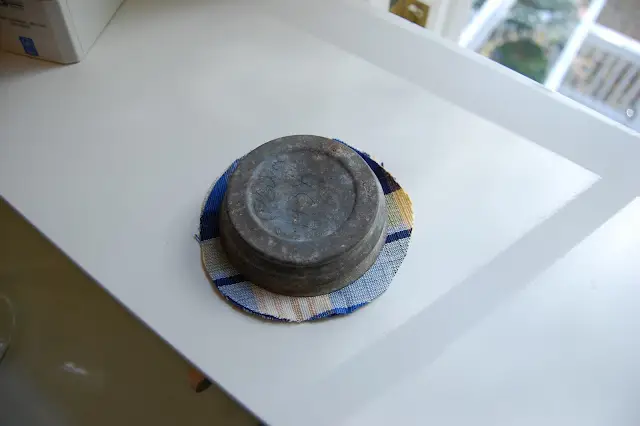
Voici à quoi ressemblaient mes cercles de tissu par rapport à la taille de mon couvercle. Mes couvercles mesuraient 3 pouces de diamètre au maximum et les cercles de tissu mesuraient environ 4 pouces.
Cousez les pièces ensemble avec les côtés « endroit » du tissu ensemble. Coupez une petite fente sur un côté, en faisant attention de ne PAS couper l'autre morceau de tissu. Retournez votre coussin à l’envers, là où le côté « droit » du tissu est maintenant tourné vers l’extérieur. Remplissez-le avec une quantité généreuse de rembourrage en polyéthylène.
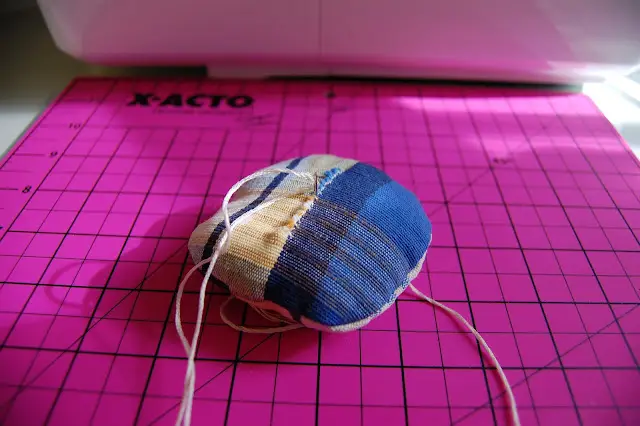
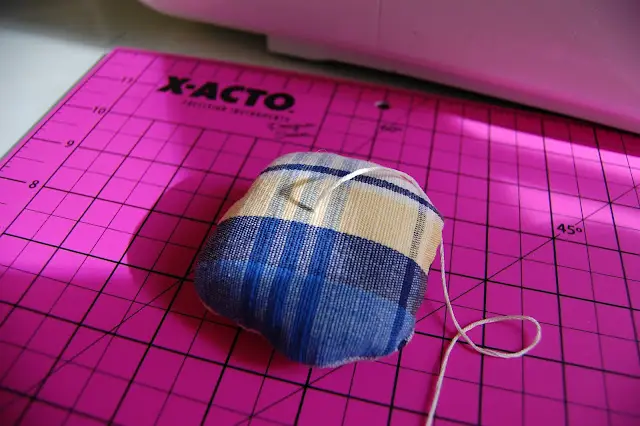
Voici à quoi il ressemble. Je n’ai pas fait le plus gros travail pour le rendre parfaitement circulaire, mais ne vous inquiétez pas, tout se passera bien à la fin. La perfection n'est pas une exigence pour ce métier. 🙂
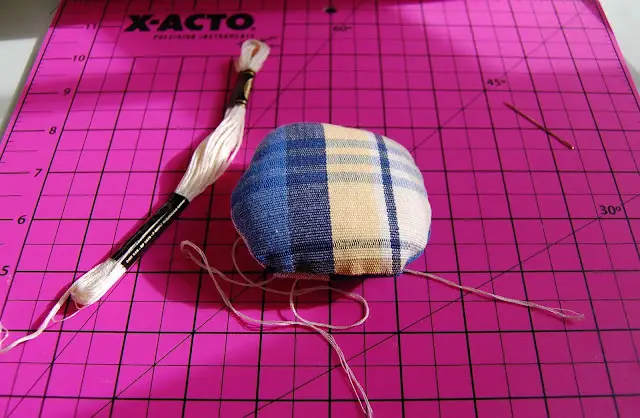
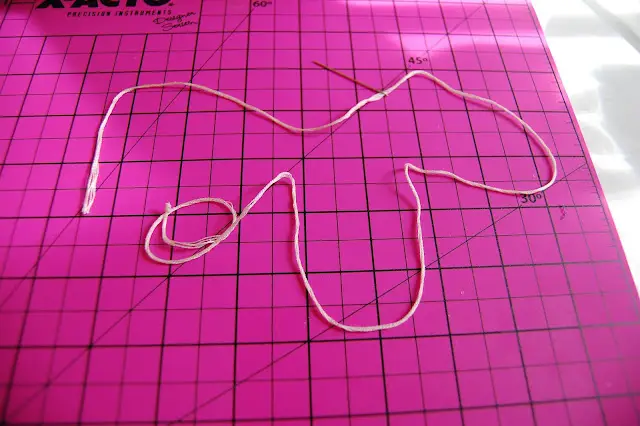
Enfilez votre aiguille à broder en la nouant sur une seule extrémité. J'ai utilisé toute l'épaisseur du fil à broder, soit les six fils.
Cousez la petite fente.

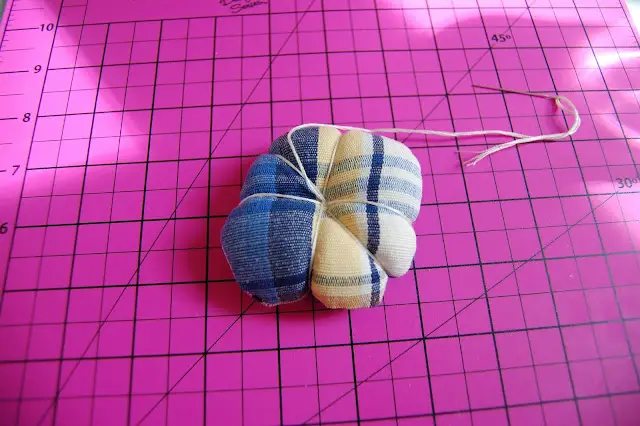
Le tout est cousu. Mon coussin à épingles a l'air plus carré que circulaire ici,n'est-ce pas ? mdr

Ok, passons à la partie intéressante. Ensuite, prenez votre aiguille et insérez-la au centre du dos de votre coussin rembourré.
Faites-la ressortir par le centre du haut et faites-la passer sur un côté.
Repassez-la au centre du dos et faites-la passer à nouveau par le centre supérieur

...en faisant une boucle sur la section de votre coussin qui est directement opposée à la boucle que vous avez faite la première fois. Tendez suffisamment le fil pour que votre coussin soit un peu gonflant.
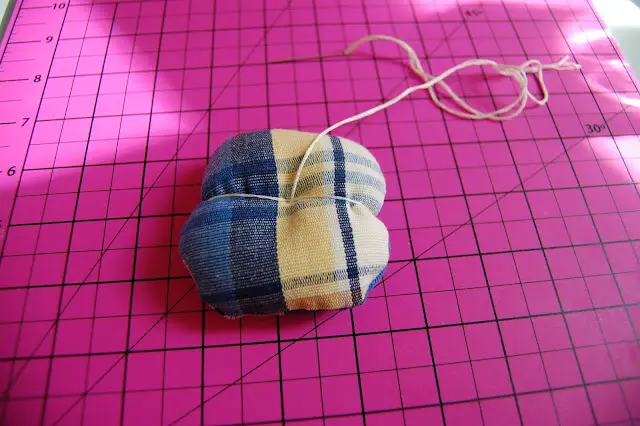
Faites la même chose à nouveau, mais sur les côtés opposés du coussin.

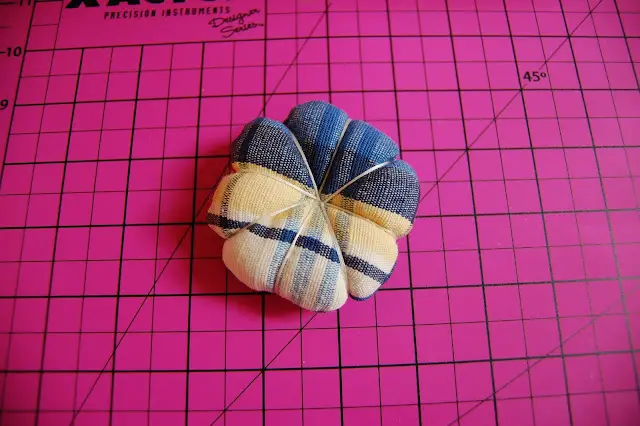
Cela divise votre coussin en quatre parties égales. Encore une fois, tirez suffisamment sur votre fil pour que votre coussin gonfle un peu, comme indiqué ci-dessous.
J'ai choisi de diviser mon coussin en 8 parties égales. Vous pouvez en faire seulement six, si vous le souhaitez.

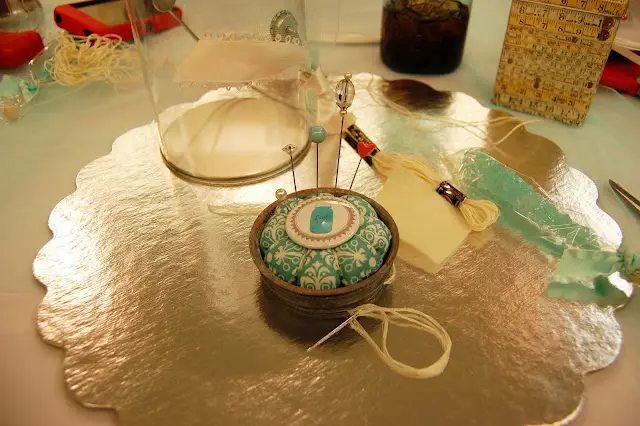
Voici à quoi cela ressemblait au dos une fois terminé.

Et voici le devant. Vous pouvez ajuster les petits morceaux de fil pour que vos sections bouffantes soient de taille plus égale. Je n'arrêtais pas de m'arrêter à mi-chemin pour prendre des photos, donc je n'ai pas fait le meilleur travail en tirant sur mon tendeur de fil à chaque fois. Le vôtre aura l'air plus cohérent si vous ne vous arrêtez pas beaucoup.
Voici à quoi cela ressemblait à l'intérieur du couvercle.
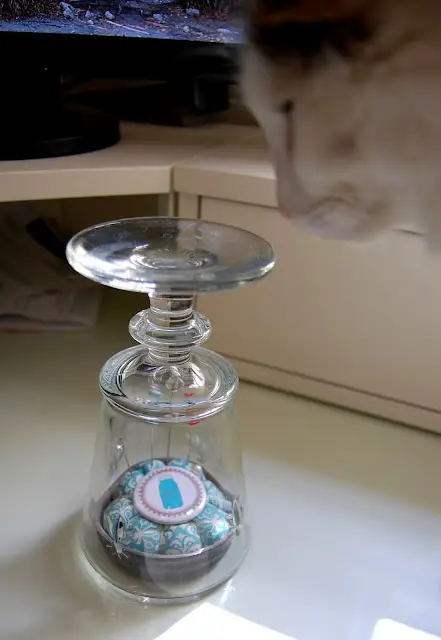
J'ai vidé les boutons de mon pot à boutons et j'ai essayé différents boutons sur le dessus.
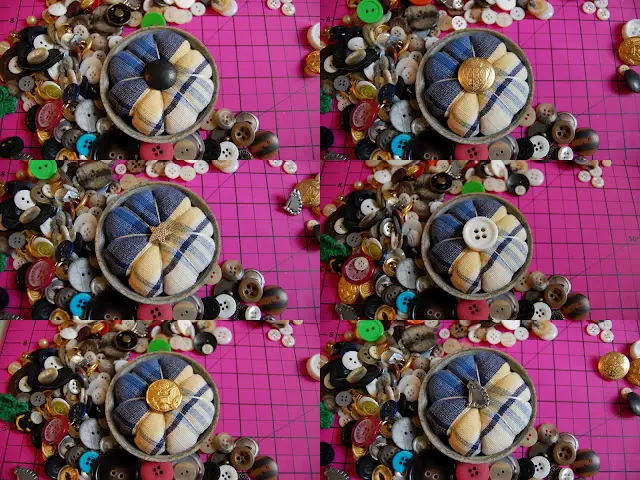
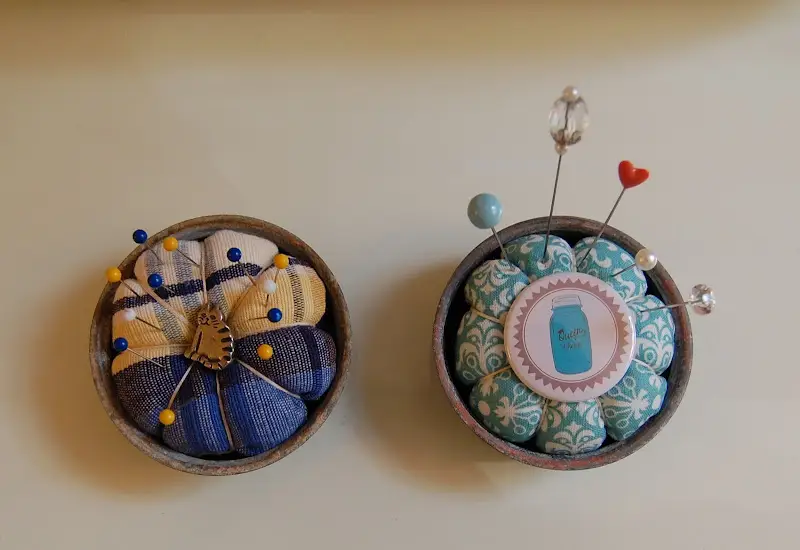
J'ai finalement opté pour ce petit chat mignonbouton. Prévisible, non ? mdr Une fois que vous avez cousu votre bouton au centre de votre coussin à épingles, vous pouvez coller à chaud votre coussin dans le couvercle. Mes coussins s'adaptaient suffisamment bien pour que je n'aie pas eu besoin de les coller. Ils sont restés en place très bien tout seuls.
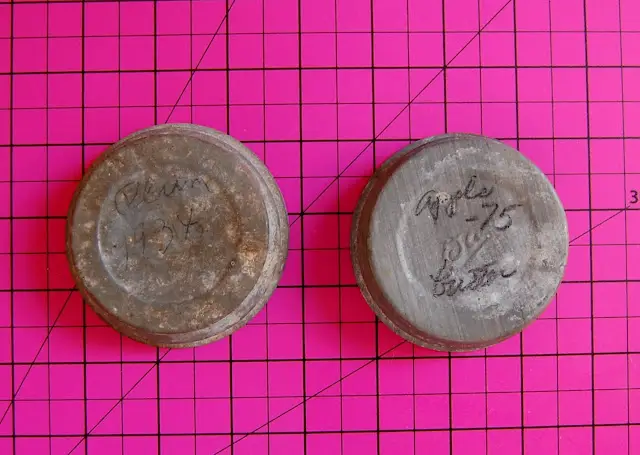
Vous trouverez les anciens couvercles en zinc Ball sur eBay, sans les bocaux. Il suffit de chercher « Couvercles de bocaux Mason Ball ». J'adore ces deux couvercles. Ils ont toujours l'ancienne écriture dessus. L'un dit « Prune 1934 » et l'autre « Beurre de pomme -75 ». 🙂
Ce petit coussin à épingles est super facile à faire et très indulgent si vous faites un bobo en cours de route. Vous avez vu que mon coussin n’avait pas l’air si rond, mais au final, il avait l’air très bien une fois à l’intérieur du couvercle.
Imaginez le glisser dans une petite boîte à couture ou un kit comme cadeau de vacances ou de douche pour une couturière en herbe… ou même une couturière chevronnée. 🙂 Bonne couture !
Pour recevoir les derniers articles, ainsi que les mises à jour sur les blog parties, abonnez-vous via un lecteur RSS ou faites-vous livrer BNOTP directement dans votre boîte de réception. Vous trouverez des liens pour vous abonner via RSS et e-mail dans la barre latérale à droite. Merci de votre lecture ; je suis si heureuse que vous soyez ici !
J’attends avec impatience votre avant et après !
Vous lisez cet article par e-mail ou par flux RSS ?
*Si vous lisez ceci par e-mail ou par flux RSS, pour voir tous les avant et après publiés pour aujourd’hui, cliquez ICI.

MétamorphoseLundi :
Si vous participez à Metamorphosis Monday, vous devrez lier le lien permanent à votre article MM et non à l'adresse générale de votre blog. Pour obtenir votre lien permanent, cliquez sur le nom de votre article, puis copiez et collez simplement l'adresse qui apparaît dans la barre d'adresse en haut de votre blog, dans la case « URL » pour InLinkz.
Si vous' Si vous souhaitez inclure le bouton MM dans votre message, copiez et collez simplement le bouton Met Monday sur votre ordinateur ou récupérez le code HTML sous le logo MM sous l'en-tête « BNOTP Parties » en haut de ce blog.
Pour créer un lien, vous devrez inclure un lien dans votre message MM vers le blog hôte, Entre les siestes sur le porche afin que vos lecteurs réguliers puissent trouver la soirée du Met Monday. ce qui garantit que vos amis et collègues blogueurs recevront également de nombreuses visites.
VEUILLEZ NE PAS taper en majuscules... cela répartit les liens très largement. Merci !
Essayons quelque chose d'amusant aujourd'hui ! Veuillez rendre visite à la personne qui a créé un lien avant et après vous... de cette façon, tout le monde recevra des visites. J'espère que vous en visiterez davantage, bien sûr.
Bienvenue ! Merci d'être venu à la fête !