IKEA Expedit Hack : comment je l'ai fait fonctionner
Il y a quelques jours, j'ai fait un Houdini lors de la rénovation du placard du bureau.
Voici une vue de « l'avant » et de « l'après » ci-dessous. Vous pouvez voir ce projet de rénovation de placard ici : IKEA Expedit pour le rangement dans le placard.
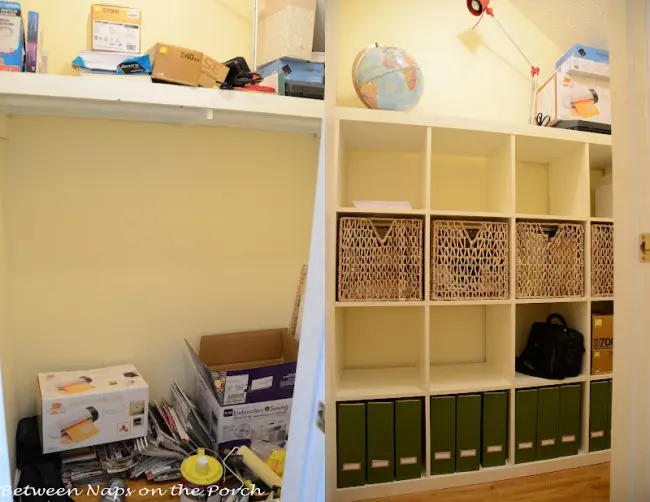
La partie Houdini recevait une étagère IKEA Expedit, qui mesure 58 5/8 pouces de large, dans un placard qui n'est qu'environ 1/2 à 3/4 de pouce plus large que l'Expedit lui-même. Le placard ne mesure qu'environ 59 1/4 pouces de large une fois la plinthe retirée.
Je n'ai pas acheté l'Expedit lors de mon premier voyage chez IKEA, mais après avoir réalisé que le panneau latéral de l'Expedit s'insère à l'intérieur du l'unité elle-même une fois assemblée, me donnant une toute petite marge de manœuvre pour travailler, j'ai eu le courage de l'essayer. J’ai envisagé la pire chose qui pourrait arriver : je devrais tout démonter et le ramener en bas, soit au garage, soit au sous-sol, où il deviendrait une étagère de rangement pour l’une de ces zones. Ce n'est pas vraiment ce que je voulais, mais je pourrais vivre avec ça s'il en fallait.
Alors que je retournais chez IKEA une semaine plus tard pour acheter l'Expedit, j'étais Je réfléchis toujours au fait que cela n'allait pas être du gâteau. Je devrais construire l’Expedit à l’endroit exact où il vivrait finalement dans le placard, car le placard n’est pas assez large ou assez profond pour permettre à l’Expedit de tourner en place s’il est construit.d'abord à l'extérieur du placard.
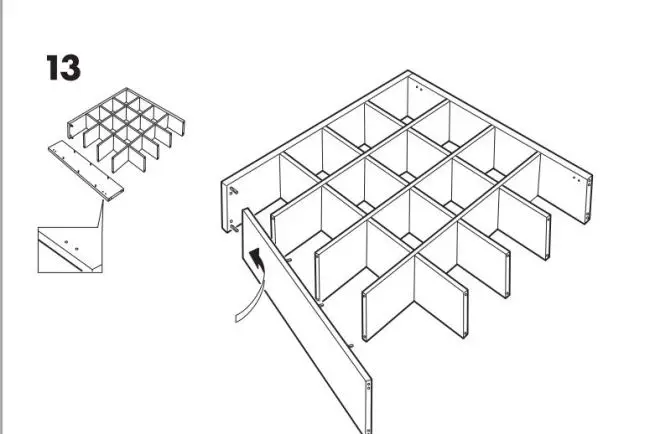
J'avais téléchargé toutes les instructions de montage en ligne, donc je savais ce qui m'attendait. Comme vous pouvez le voir dans le diagramme ci-dessous, l'extrémité/panneau latéral gauche est la dernière pièce à monter (sauf pour le haut) et il faut évidemment un peu d'espace ou de pièce pour marteler ce dernier panneau. « L’espace » était quelque chose que je n’avais pas. J'ai canalisé Scarlett (Autant en emporte le vent) et j'ai pensé : « Je ne peux pas penser à ça pour le moment. Si je le fais, je deviendrai fou. J'y réfléchirai demain. ”
Une fois de retour à la maison, la toute première chose que j'ai faite a été de retirer le quart de rond et la plinthe des deux côtés du placard. J'ai utilisé l'outil de coupe de bois sur mon Dremel pour cela et cela a très bien fonctionné. Je voulais tellement prendre une photo de ce processus, mais je ne pouvais tout simplement pas tenir l'appareil photo, appuyer sur le bouton et couper avec le Dremel en même temps.
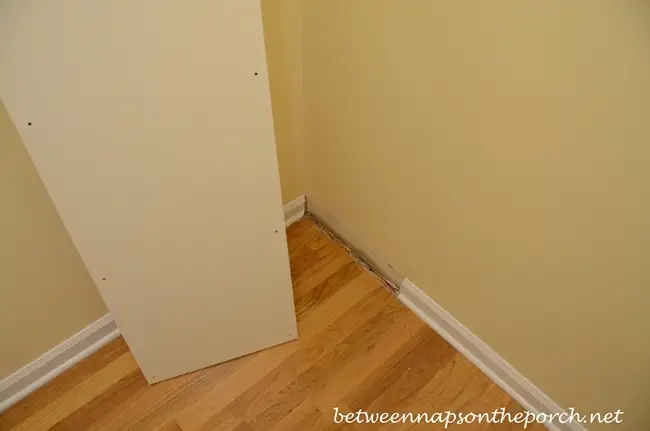

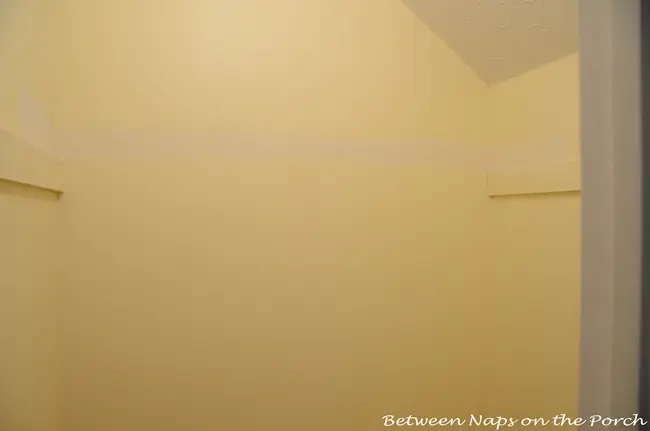
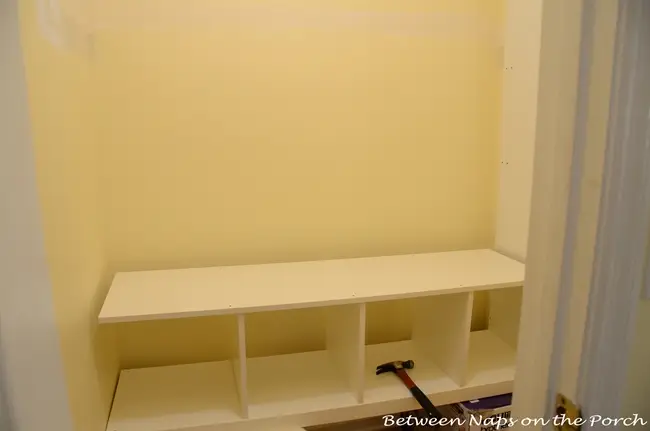
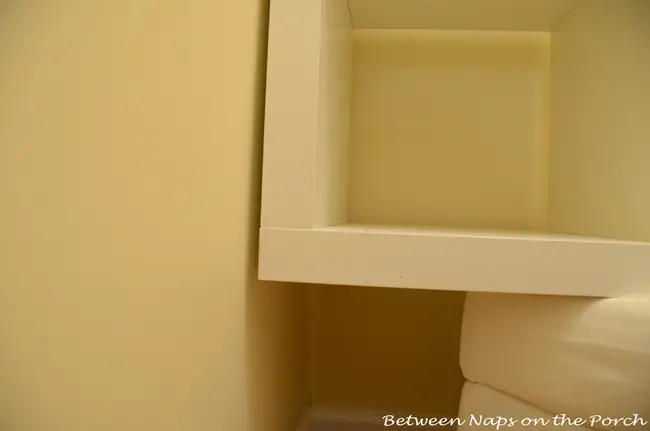
J'ai sorti la grande étagère du placard qui reposait sur les supports que vous voyez ci-dessous. J'ai ensuite retiré les supports car ils étaient environ 1/8 de pouce trop bas sur le mur et auraient heurté le haut de l'Expedit. Ouais, ces minuscules fractions de pouce me tuaient. Tout était une question d'incréments, cette quête Expedit. En fin de compte, j'étais content de les avoir retirés parce que j'ai décidé de laisser complètement cette étagère hors du placard.
Vous pouvez voir que j'ai quelques retouches de peinture devant moi. Je n'avais pas réalisé que l'étagère était simplementassis sur les supports lorsque j'ai peint le placard il y a quelques mois, sinon je l'aurais retiré pour peindre. J'aurais dû m'arrêter à ce stade et terminer le tableau, mais j'étais trop impatient de mettre M. Expedit en place. La peinture viendra plus tard... Je vais juste tout bien couvrir.
Maintenant, cette partie suivante est un peu difficile à expliquer. J'ai apporté le pouf et la grande boîte dans laquelle ma machine à coudre Brother était entrée dans le placard. Et devine quoi? J'ai construit l'intégralité de l'Expedit dans les airs, au-dessus du pouf et de la boîte. Laissez-moi vous expliquer.
Le processus de construction a commencé en plaçant la pièce extérieure inférieure de l'Expedit sur le dessus du pouf et de la boîte. Ensuite, j'ai placé le « mur latéral » droit de l'Expedit au-dessus de la pièce inférieure. Il y a ces vis vraiment très longues qui traversent le coin inférieur de l'Expedit jusqu'à la paroi latérale de l'Expedit. C'est pourquoi j'ai dû le construire dans les airs, afin de pouvoir m'allonger sur le dos sous l'Expedit et les visser. Normalement, l'Expedit est construit sur le côté, puis il est retourné une fois terminé. Je n'avais pas ce luxe dans cette situation.
BTW, je ne vous recommande pas de construire votre Expedit de cette façon. Cet article est juste pour montrer comment j'ai construit le mien. Je vous recommande de construire votre Expedit en suivant toutes les instructions fournies avec votre Expedit !
J'ai continué à ajouterrangées d'étagères à l'Expedit. Vous pouvez voir les petits piquets dressés attendant la prochaine rangée de parois latérales des casiers.
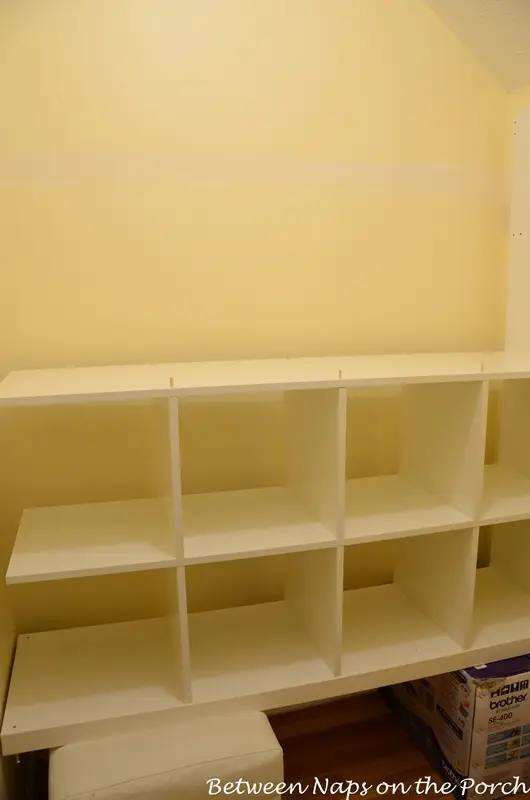
Une autre vue de l'avancement de la construction...
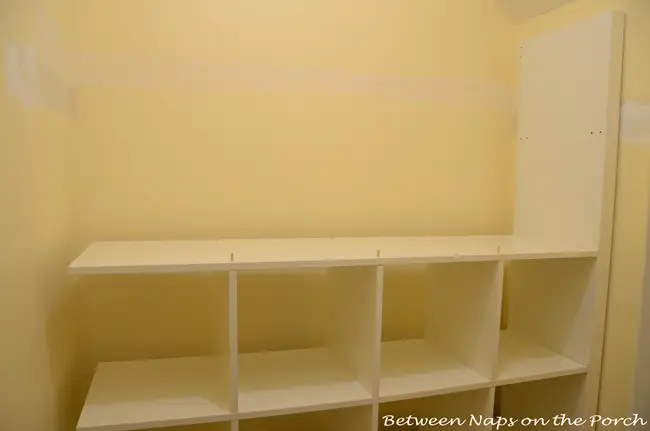
Voici une meilleure vue montrant pourquoi j'ai construit l'Expedit dans les airs. Il fallait que je puisse serrer ces deux vis une fois la dernière paroi latérale (le côté gauche) de l'Expedit ajoutée.
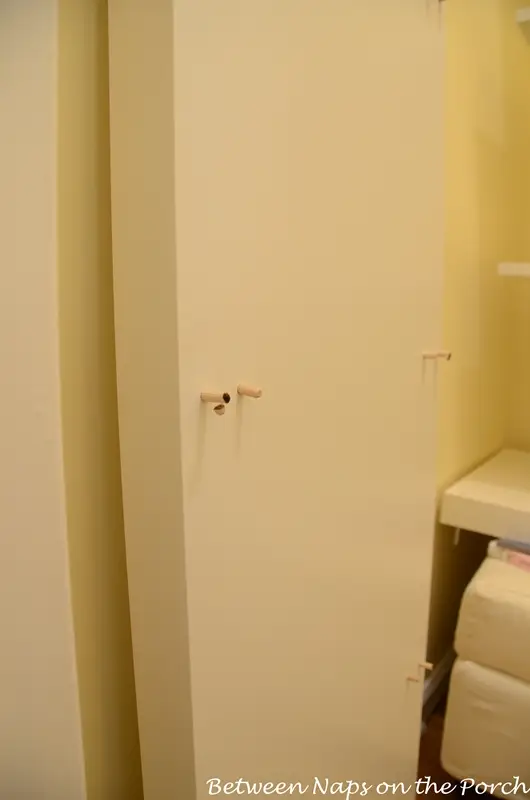
L'Expedit est conçu là où quatre chevilles s'étendent de la paroi latérale de chaque étagère, et celles-ci vont jusqu'à l'extrémité de chaque étagère. Sur ces 4 chevilles qui collent dans chaque étagère, deux sont courtes et deux longues. En fait, les chevilles sont toutes de la même taille... seuls deux des quatre trous dans la paroi latérale de l'Expedit sont plus profonds. Ainsi, sur les 4 piquets dépassant de chaque étagère, deux étaient trop longs d'environ un quart de pouce.
Entre M. Dremel, à droite de la scène... en fait, à gauche de la scène dans cette scène. Dremel a encore une fois sauvé la mise. J'ai coupé environ 1/8-1/4 de pouce des chevilles qui étaient trop longues... celles qui m'empêchaient de faire glisser le panneau latéral gauche vers le bas, à côté de l'Expedit. Je ne craignais pas que cela compromette l'intégrité ou la solidité des étagères Expedit parce que : 1. Je ne coupais pas grand-chose 2. Il y avait 4 chevilles pour chaque étagère à chaque extrémité et seulement deux étaient légèrement coupées 3. Chaque étagère était déjà bien soutenue par tous les panneaux individuels qui composent l'ensemble.parois latérales des petits compartiments de l'Expedit. Et 4. Une très longue vis traverse le haut et le bas de l'Expedit dans la paroi latérale de l'unité, maintenant la paroi latérale fermement en place.
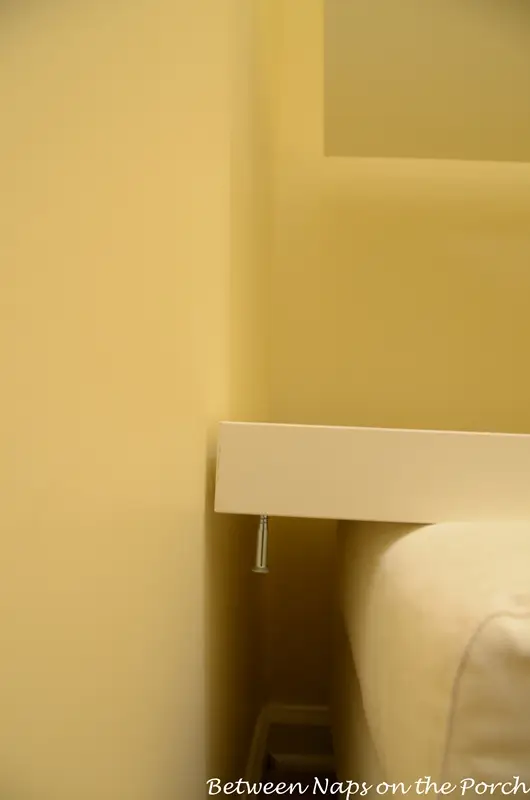
Dans cette photo ci-dessous, je venais de couper la pointe de une des chevilles. Vous pouvez voir la pointe accrochée sous la cheville.
Une vue plus rapprochée... 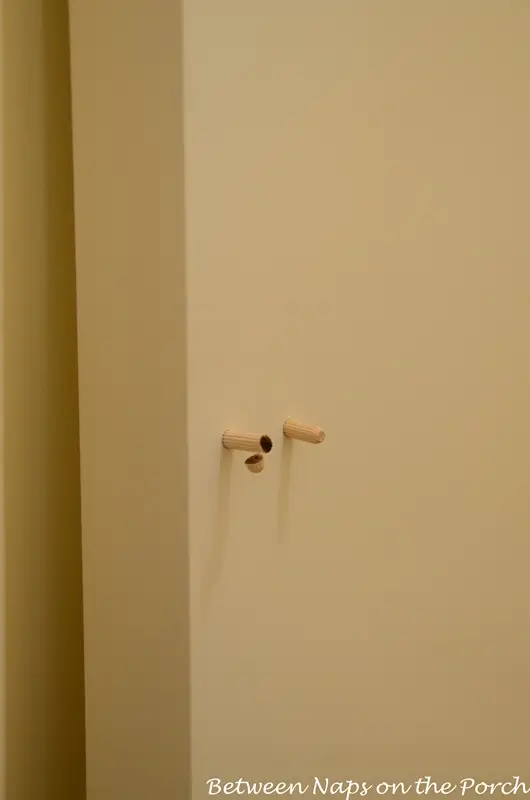
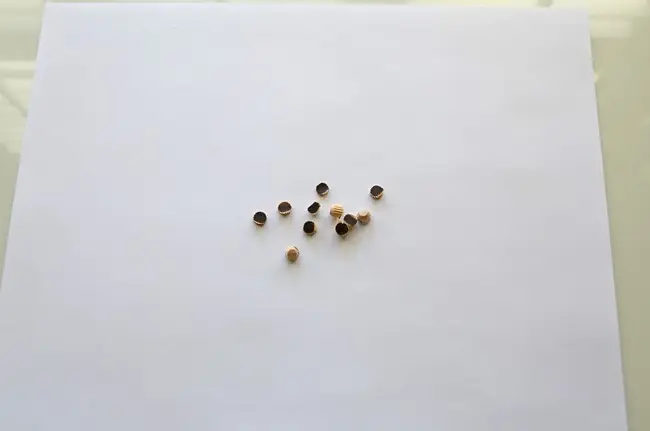
Voici tous les petits conseils. C'est un peu bizarre de voir comment le Dremel fait brunir le bois lorsqu'il coupe. Je suppose que cela crée beaucoup de friction lorsqu'il coupe le bois.
J'aurais aimé prendre une photo de la pièce de paroi latérale collée sur le côté de l'Expedit avant. il a été mis en place. Je suppose que le feu de l'action a pris le dessus et j'ai oublié de prendre une photo. Voici donc comment cela s'est passé : une fois les chevilles légèrement coupées, j'ai à peine réussi à mettre en place la paroi latérale de l'Expedit. Puis le vrai plaisir a commencé. J'avais prévu de glisser quelque chose de fin derrière la paroi latérale de l'Expedit et de le soulever ou de le coincer contre l'étagère, en poussant les chevilles dans les trous de l'étagère.
Eh bien, voilà pour cette idée. Cela ne bougeait pas. J'ai tiré et tiré sur la paroi latérale. Rien. J'ai sorti un petit miroir et l'ai tenu sur le côté pour voir si une cheville n'était pas correctement alignée avec un trou dans l'étagère. L’un d’entre eux semblait être éteint et je l’ai ajusté, mais je ne parvenais toujours pas à tirer ou à coincer cette paroi latérale (avecpiquets) contre et dans les trous des étagères.
Ensuite, je ne sais pas pourquoi je l'ai fait, mais j'ai secoué/cogné l'ensemble de l'Expedit assemblé en direction de la paroi latérale et louange soit, les piquets sont descendus un tout petit peu dans les trous des étagères. Quoi??? Certainement pas! Alors je l'ai fait encore et encore. Il m'a seulement fallu balancer cet Expedite contre le flanc environ 3 à 4 fois et le tout était ensemble, aussi serré que possible. J'étais abasourdi, heureux mais abasourdi. Comme disait mon beau-père : « Même un écureuil aveugle trouve une noix de temps en temps. »
Ensuite, je me suis mis sur le dos, je me suis glissé sous l'Expedit et j'ai vissé le très long vis qui maintiennent la paroi latérale à la pièce inférieure de l’Expedit. J'ai fait la même chose avec les vis sur le dessus de l'Expedit. J'ai dû monter sur un escabeau pour les atteindre puisque l'Expedit était toujours en l'air sur le pouf et la boîte.
La partie suivante était peut-être la plus difficile de toutes. . J'ai dû retirer cet Expedit extrêmement lourd de la boîte et du pouf et le poser sur le sol. Je n'avais AUCUNE IDÉE que ce serait si lourd une fois assemblé, ce qui était vraiment stupide de ma part puisque je n'avais pu faire bouger aucune des deux boîtes qui contenaient l'Expedit non assemblé. J'avais amené chaque morceau de l'Expedit à l'étage en ouvrant les cartons de mon SUV, en sortant chaque section et en montant les escaliers une par une. Maintenant tu sais pourquoi j'avais si mal le lendemain – eh bien ça etce qui s'est passé ensuite.
Voici comment je l'ai retiré du pouf et de la boîte. J'ai d'abord placé un large repose-pieds robuste sous le centre de l'Expedit et j'ai sorti la boîte. Pouce par pouce, j'ai retiré le pouf jusqu'à ce que l'Expedit s'effondre sur le repose-pieds, qui était plusieurs centimètres plus court que le pouf.
Ensuite, j'ai placé trois livres sous un côté de l'Expedit et trois livres sous l'autre. côté. J'ai lentement sorti le marchepied. J'avais pensé à placer des coussinets sur les quatre pieds du marchepied (avant de le placer sous l'Expedit) pour qu'il ne raye pas le sol lorsque je le retirais. Ce n'était pas facile de le sortir !
Une fois le repose-pieds retiré, j'ai sorti un livre à la fois, abaissant progressivement l'Expedit de quelques centimètres à la fois. J'ai utilisé des livres qui n'étaient pas chers au cas où cela les ruinerait. Heureusement, ce n’est pas le cas. OH. MON. GOSH… était-ce que ce truc était lourd. C'était tellement dur de sortir ces livres. Finalement, je les ai tous sortis et l'Expedit a atterri à l'endroit situé entre les endroits où j'avais retiré la moulure. Alléluia !
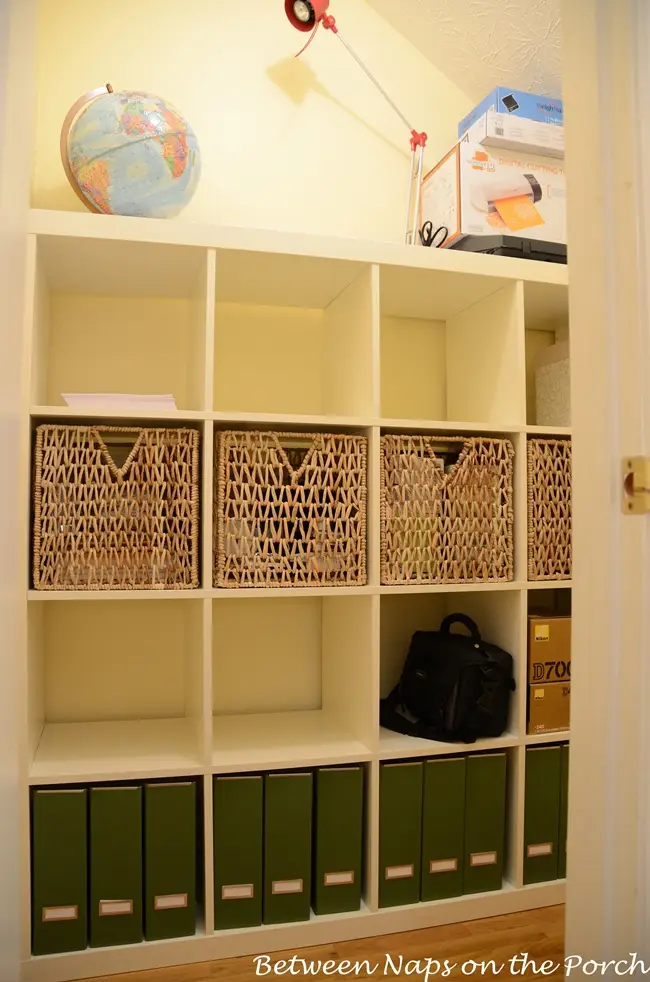
Voici à quoi ressemble l'Expedit en bas... vous pouvez voir pourquoi j'ai dû retirer le quart de rond et la plinthe pour avoir de l'espace pour qu'il puisse s'adapter une fois que je l'ai abaissé du pouf et de la boîte. J'ai en quelque sorte creusé le mur derrière la plinthe de ce côté. Cela peut être réparé et sera caché lorsque la plinthe sera remise si/quand je la vendsmaison un jour.
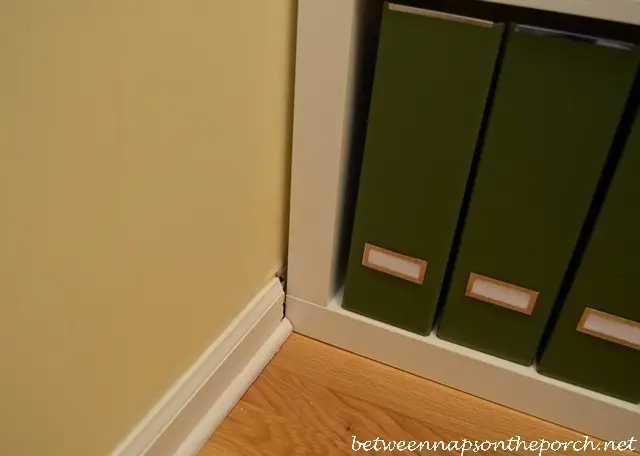
Voici l’autre côté. J'ai fait un meilleur travail ici. Vous savez, si j’ajoutais un peu de moulure sur les côtés, l’Expedit aurait un look intégré, n’est-ce pas ? Quand je déménagerai un jour, je devrai peut-être simplement utiliser une scie pour le sortir d'ici afin que le prochain propriétaire ait un endroit pour accrocher ses vêtements. Encore une fois, j'invoque la clause Scarlett. 😉
J'adore la hauteur de l'Expedit car je peux maintenant atteindre tout ce que je garde au-dessus là où je ne pourrais jamais le faire avec l'étagère qui se trouvait ici dans le placard . Je sais que sur cette photo, ils semblent avoir à peu près la même hauteur, mais l'étagère d'origine était en fait un peu plus haute.
Alors, c'est tout ! Je suis tellement heureux de l'avoir fait.
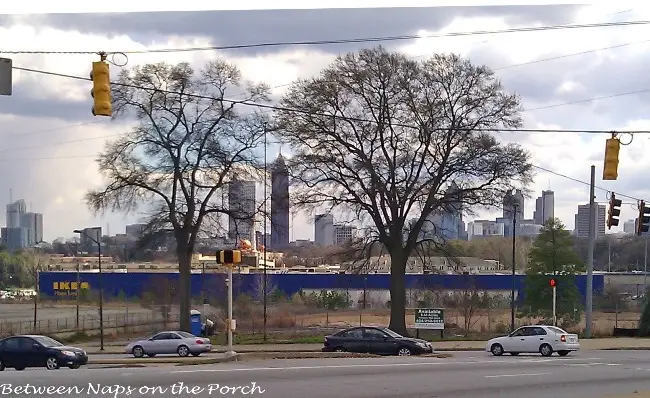
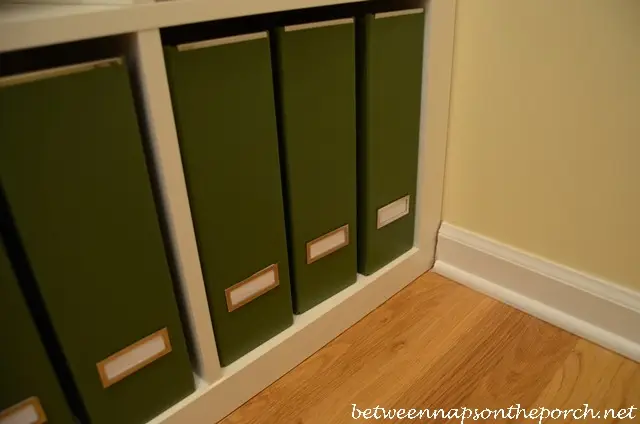
J'ai rencontré un ami blogueur pour le déjeuner aujourd'hui et le restaurant où nous nous sommes rencontrés n'était qu'à environ 5 minutes d'IKEA. Ainsi, après le déjeuner, je me suis arrêté et j'ai acheté quatre autres paniers PJAS. Je partagerai une photo montrant à quoi ils ressemblent dans l'Expedit for Met Monday. J'aime vraiment le look avec 2 rangées de paniers.
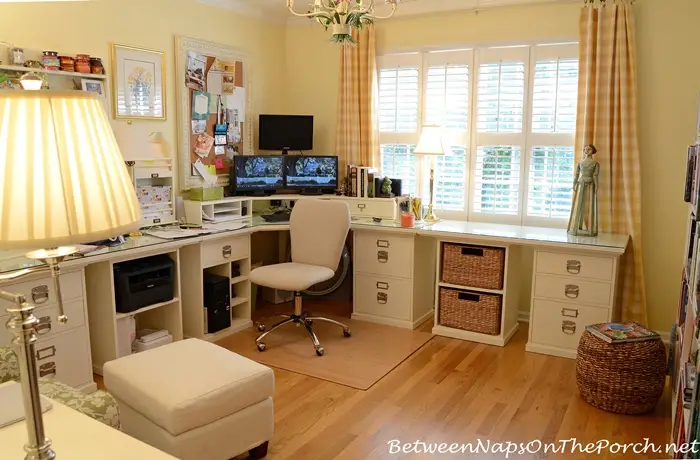
Pssst : Si vous êtes nouveau sur BNOTP et que vous n'avez pas vu « Avant et Après » du bureau, vous le trouverez ICI.
Vous trouverez le post montrant l'Expedit avec 8 paniers PJAS (au lieu de quatre) ici : Paniers PJAS pour le Closet Expedit
Vous trouverez un post partageant des photos de ce que je suis ranger à l'intérieur des paniers ici : IKEA Expedit, Sneaking a PeekÀ l'intérieur
Encore une fois, veuillez construire votre Expedit selon les instructions fournies avec votre Expedit ! Cet article n'est pas un tutoriel pour construire un Expedit !