Comment j'ai passé les dernières 48 heures
J'ai été très occupé ces dernières 48 heures. Je ne sais pas ce qui m'a pris, mais j'y suis allé sans arrêt !
Après l'arrivée récente de ce fourre-tout Frye, j'ai décidé d'y ajouter un organiseur de sac pour qu'il ait plus d'espace. support en bas chaque fois que je transporte des objets lourds comme mon ordinateur portable. J'ai fait des recherches en ligne pendant des heures et j'ai même contacté Frye. Personne ne fabrique d'organisateur pour ce sac, mais j'en ai trouvé un qui était assez ajusté et qui fonctionne très bien !
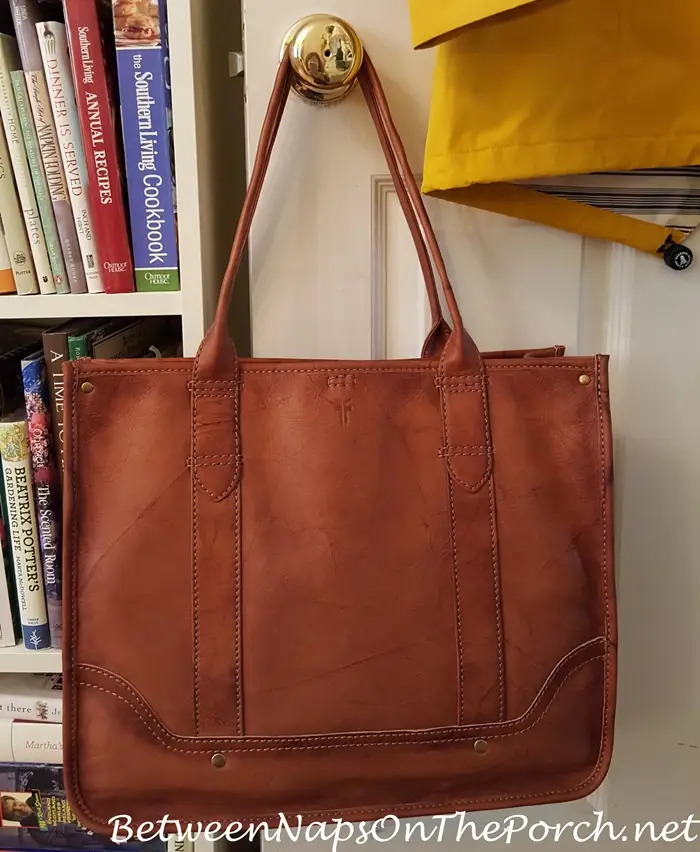
J'ai opté pour celui-ci en taille X-Large, mais ils les ont en stock dans différentes tailles. Je l'ai commandé en marron pour qu'il se coordonne avec mon sac, mais il existe en plusieurs couleurs. 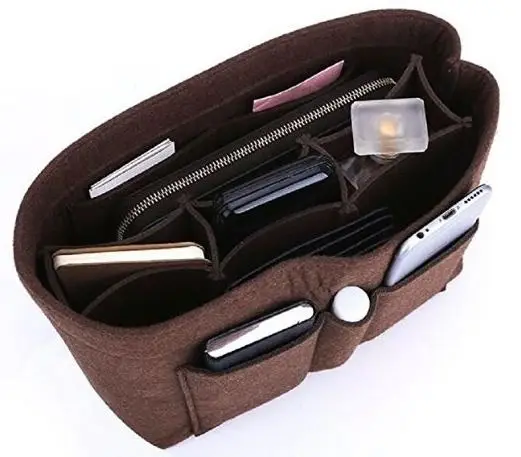
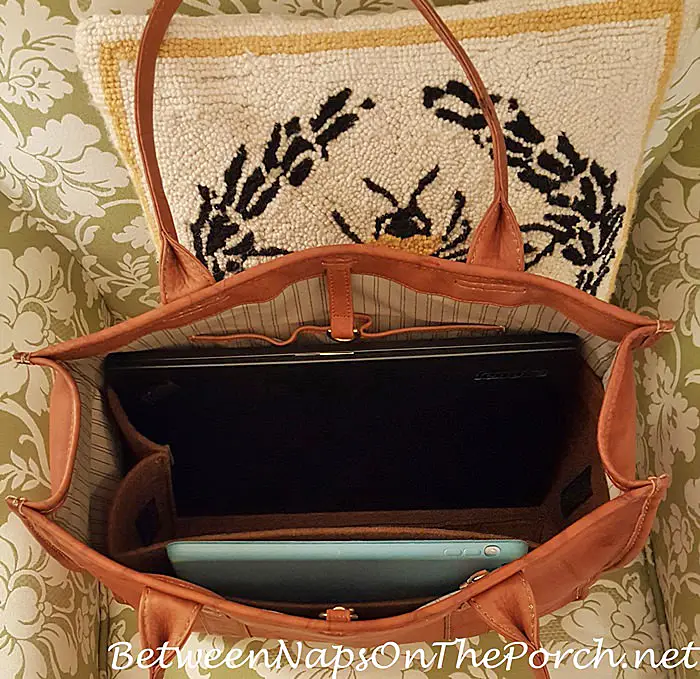
J'ai placé mon ordinateur portable et mon iPad dans le sac pour que vous puissiez voir comment ils s'ajustent. Il reste beaucoup d'espace pour tout ce que je voudrais ajouter, et je peux toujours accéder à toutes les poches qui font partie du sac lui-même.
Si vous avez un grand fourre-tout, pensez à y ajouter un organiseur de sac. Ils empêchent tout de rebondir à l'intérieur du sac, vous aident à trouver rapidement ce dont vous avez besoin et, en général, donnent au sac plus de structure et de soutien, ce qui est bon pour le sac lui-même.
Je sais que c'est un peu difficile à voir à l'intérieur de mon sac. Vous pouvez en voir beaucoup plus de photos ici : Bag Organizer. Cet organisateur a des poches tout autour. Il est livré avec un insert qui divise la zone centrale si vous souhaitez l’utiliser. Je voulais garder leLa zone centrale est ouverte, c'est pourquoi vous ne voyez pas l'insert central en place.
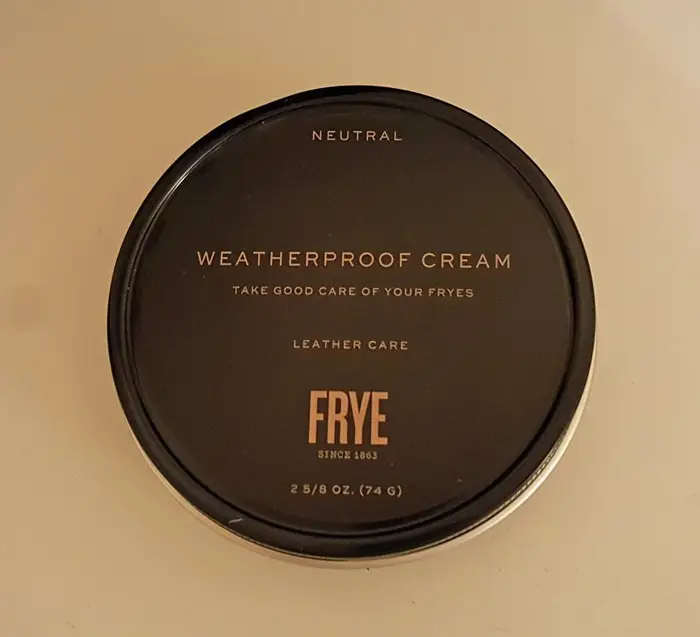
J'ai également acheté ceci pour protéger le sac de la pluie. Il est disponible ici : Crème résistante aux intempéries.
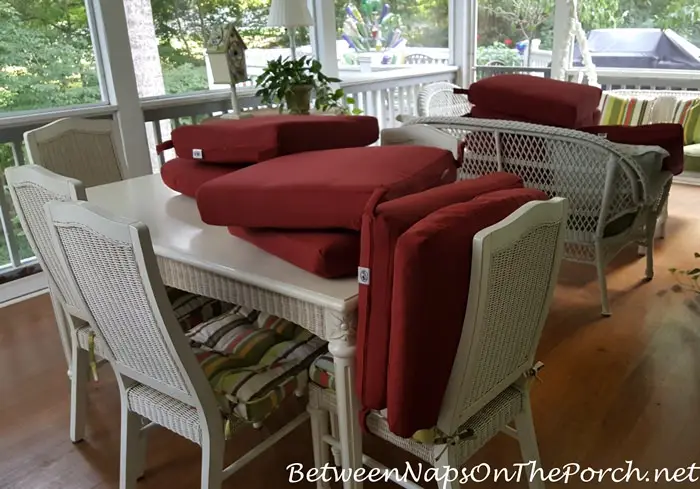
J'ai travaillé sur l'ensemble de salle à manger pour la terrasse
J'ai assemblé toutes les chaises pour le nouveau ensemble de salle à manger que j'ai acheté pour la terrasse. C'est le dessus de table appuyé contre la terrasse en arrière-plan.
C'était un travail amusant en écoutant l'un des Grands Cours (L'Histoire de l'Égypte) sur Audible. J'adorerais voir les pyramides et le Nil en personne un jour.
Ensuite, j'ai ordonné à CECI de nettoyer la terrasse afin de pouvoir la repeindre à nouveau. J’espère commencer à travailler là-dessus la semaine prochaine, à moins que j’assemble des armoires. Nous en reparlerons dans une seconde !

Voici où se trouvent actuellement tous les coussins pour les chaises. J'ai essayé une des chaises (avec coussins) et elles sont très confortables.
À propos de ces trous et ornières
J'en ai fait appelle et découvre que la meilleure chose pour combler les ornières et les trous dans le gazon de Zoysia est le sable de rivière. (Pour en savoir plus sur la façon dont cela s'est produit, ICI) Certaines personnes utilisent du sable de jeu, mais le sable de rivière est censé être meilleur. Il y a un certain nombre de ces profondes entailles dans la cour causées par le grand arbre qui a atterri ici.

Le sable de rivière peut être un peu difficile à trouver. Le seul endroit qui l’avait près de chez moi ne le vend pas en sacs. Ils m'ont dit d'apporter des seaux et je pourrais les remplirceux-là.
Ils ont oublié de me dire que j'allais devoir tout pelleter moi-même dans leur grand bac à sable. C'est strictement en libre-service à cet endroit. Malheureusement, comme je ne savais pas comment tout cela fonctionnait, j’y suis allée habillée d’une jupe d’été et de sandales. J'aurais aimé que vous puissiez me voir pelleter du sable ce matin, vêtue d'une jolie jupe d'été et de sandales à talons. Ha! J'ai réussi !
Le sable était mouillé par nos récentes pluies, je ne pouvais donc pas remplir les seaux jusqu'au sommet tout en les soulevant et en les plaçant à l'arrière de mon SUV. Ils pesaient environ 40 livres chacun à ce niveau.
Maintenant, je dois juste sortir et commencer à combler les trous dans la cour avant. Mon responsable de la pelouse m'a suggéré de mélanger également de la terre végétale, bien que l'endroit où j'ai acheté le sable ait indiqué que le sable de sa rivière était très limoneux, tel quel. Je vais probablement encore ajouter un peu de terre végétale.

Après avoir creusé le sable, j'ai pris une douche et me suis rendu à un rendez-vous ophtalmologique à Atlanta. Une fois de retour à la maison...
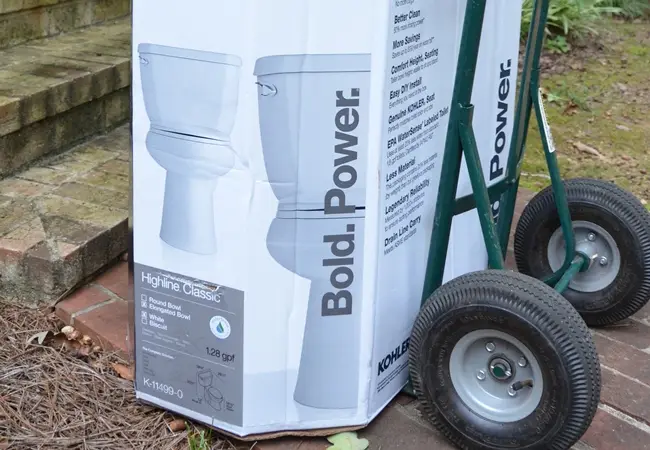
Réparé les toilettes
Souvenez-vous des toilettes Kohler Highline Classic que j'ai achetées pour mes trois salles de bains il y a quelques années. Eh bien, il s’avère que le « joint de valve de chasse d’eau » rougeâtre/rosé à l’intérieur du réservoir a tendance à tomber en panne après quelques années. La mienne est tombée en panne dans l'une des toilettes il y a quelques nuits, elle était tout simplement trop détériorée pour garder l'eau à l'intérieur du réservoir.
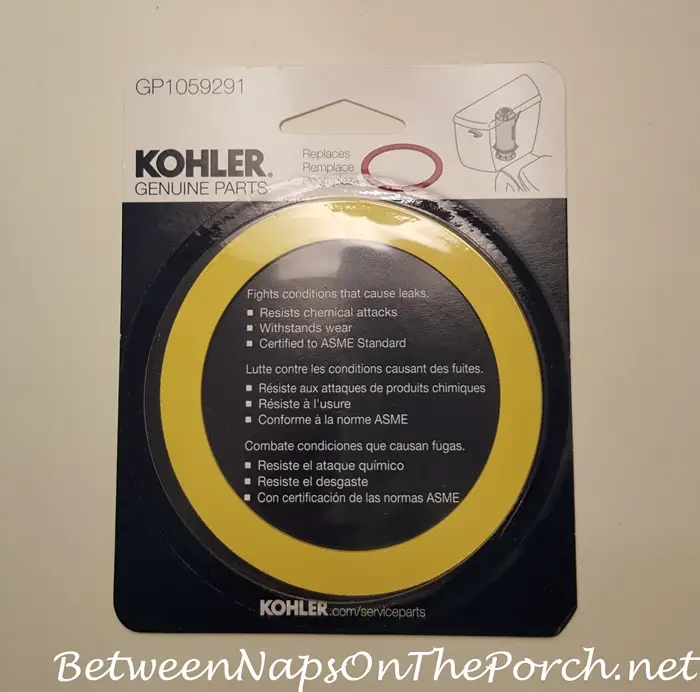
J'ai fait quelques recherchesen ligne et j'ai découvert qu'il s'agissait du nouveau joint amélioré pour ces toilettes. Il est disponible ici : Yellow Seal. N’utilisez plus le sceau rouge si c’est ce que vous trouvez disponible dans votre quincaillerie. C'est le joint JAUNE qui est le nouveau joint amélioré.
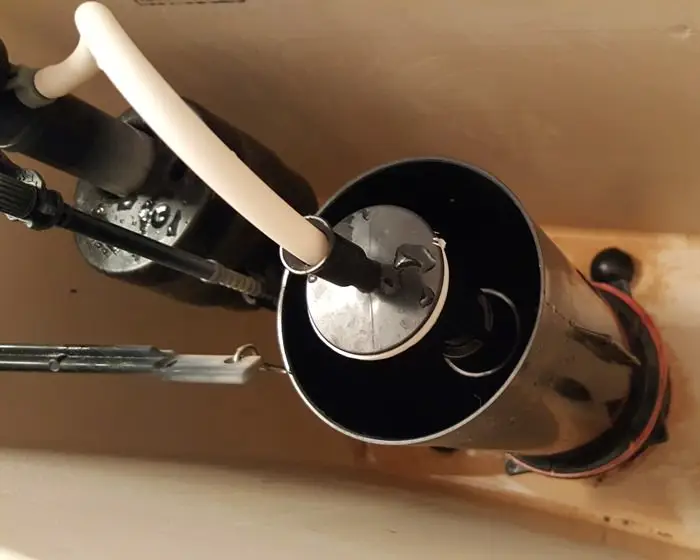
J'ai changé le joint et maintenant il fonctionne mieux que jamais. J'avais remarqué que la poignée de ces toilettes commençait à coller un peu avant même que le joint ne se brise, probablement parce que le joint était tellement détérioré qu'il était devenu gommeux et collait au mécanisme qui se soulève à l'intérieur lorsque la chasse d'eau est tirée. Cette pièce fonctionne également très bien maintenant... plus de poignée qui colle. Si vous possédez ce type de toilettes et devez les remplacer, il existe plusieurs vidéos en ligne sur YouTube. C'est celui que j'ai regardé : Réparation de toilettes Kohler.
Le plus gros conseil que je puisse partager est que lorsque vous dévissez cette chose fine et noire au centre de la photo où est fixé le tuyau blanc (c'est ce qu'on appelle l'Aqua Piston) au lieu d'essayer de le détacher en le saisissant par le haut, soulevez le boîtier noir et dévissez-le par le bas.
Le piston aquatique a apparemment tendance à se casser/se casser lorsqu'il est tordu par le haut, il est donc préférable de le desserrer en le tournant par le bas. J'ai appris cette astuce dans la section commentaires d'une des vidéos sur YouTube, et ça marche très bien ! C'est vraiment simple... j'ai fait toute la réparation en deux minutes une fois que j'ai su comment procéderà part.
Nouvelle stratégie d'armoire
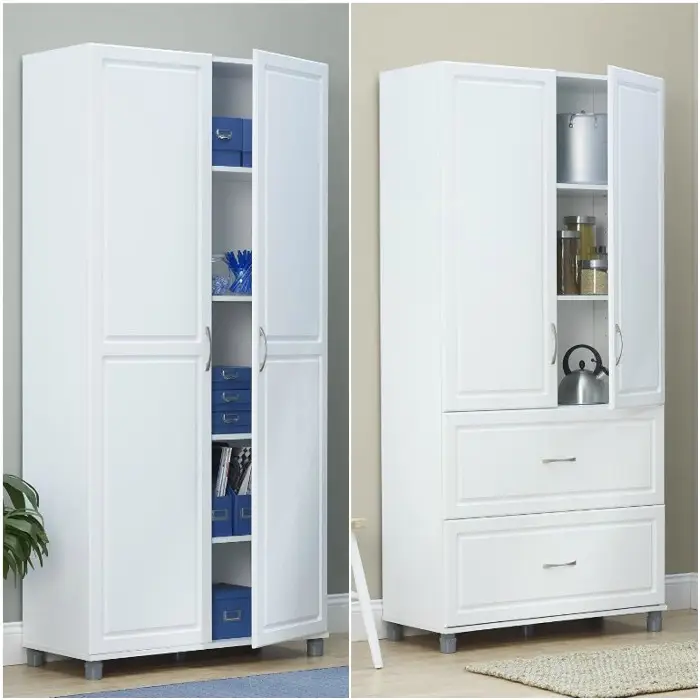
J'ai une nouvelle stratégie pour commander le reste de ces armoires pour le garage . Walmart en a finalement reçu d'autres, alors au lieu de les commander sur Amazon, je les ai commandés à partir de là. Vous les trouverez ici : Armoires.
Ils les livreront gratuitement dans un Walmart près de chez vous. En fait, ils livreront gratuitement celui de gauche à votre domicile via UPS, mais je ne reviendrai pas sur cela !
J'ai un marché Walmart à environ 800 mètres (si c'est aussi loin) de chez moi. Je leur demande de livrer une des armoires avec tiroirs et deux des armoires sans tiroirs à ce Walmart.
Voici mon plan : je vais y aller en voiture, demandez-leur de m'aider à ouvrir chaque boîte. pour inspecter chaque armoire, et si elles sont endommagées, je les retournerai sur place.
S'ils vont bien, je leur demanderai de charger une boîte à la fois dans mon SUV. Je vais conduire les quelques pâtés de maisons jusqu'à chez moi, ouvrir la boîte à l'arrière de mon SUV et retirer chacune des pièces une à la fois. Je vais répéter ce processus pour les trois armoires.
Je ne veux absolument pas ramener une de ces grosses boîtes à la maison et découvrir que l'armoire est endommagée et devoir la récupérer dans mon SUV et revenir au magasin. Je vous ferai savoir comment cette tactique fonctionne... en espérant que tout se passe bien !
Changement de nappe
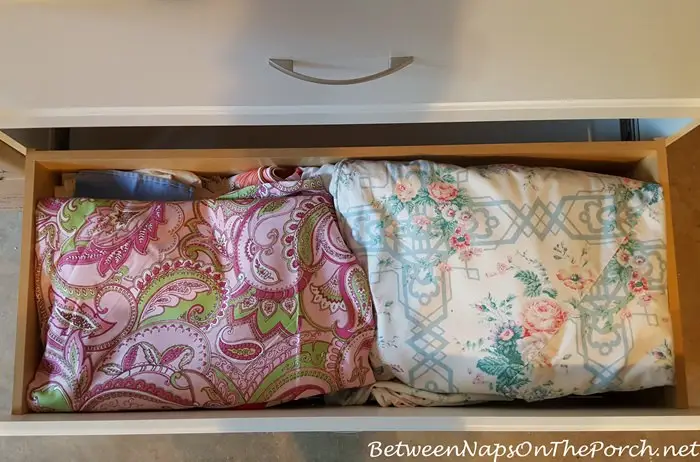
Rappelez-vous comment je j'avais stocké tous mesdes nappes dans un des tiroirs des armoires du garage ? (Voir cet article ici : Armoires de rangement.)
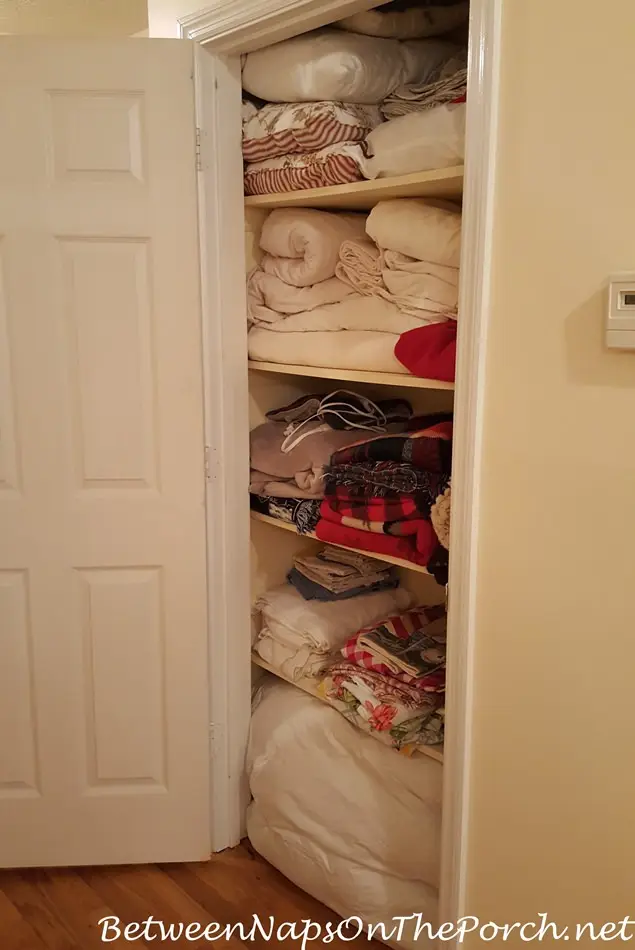
Au petit matin, j'ai trié et vidé mon armoire à linge à l'étage et j'ai trouvé 7 autres nappes ! Je ne sais pas comment j’ai raté ça l’autre jour ! Ce placard est beaucoup plus grand qu'il n'y paraît sur cette photo, il mesure en fait 42 pouces de large et 18 pouces de profondeur.
Après avoir vidé ce placard et fait don de quelques objets à Goodwill aujourd'hui, j'ai décidé de remettre les nappes en place. du garage et rangez-les dans le placard. J’utilise si rarement une nappe, ça ne sert à rien de la laisser occuper un tiroir (ou deux !) dans les armoires du garage que je pourrais utiliser pour quelque chose de plus important. Maintenant que j'ai fouillé ce placard et trié/fait don de certaines choses, j'avais de la place pour les nappes sur une seule étagère.
Solution contre l'humidité
Vous vous souvenez des tiroirs remplis de serviettes ? Plusieurs personnes ont suggéré de mettre quelque chose à l'intérieur des tiroirs pour aider avec l'humidité, etc... puisque ces armoires sont dans le garage. Heureusement, mon garage ne fait pas extrêmement chaud, il y a une pièce bonus chauffée/refroidie au-dessus et une buanderie chauffée/refroidie du côté sud. Il y a un énorme magnolia qui l’ombrage du côté nord, donc le seul soleil qu’il reçoit est celui du fils matinal de l’est. Je suppose que c'est pour cela qu'il ne fait jamais extrêmement chaud dans le garage.
PourPar exemple, l'autre jour, alors qu'il faisait 94 degrés dehors, le thermomètre que j'avais placé dans le garage pour vérifier la température indiquait 83 degrés. Le maximum qu’il faisait dans le garage ce jour-là était de 84 degrés. Mais j'aime l'idée d'ajouter quelque chose dans les tiroirs pour lutter contre l'humidité car il peut faire lourd ici dans le sud.
En fait, maintenant que j'y pense, je range mes serviettes dans un coffre. -de tiroirs de l'ancienne chambre de mon fils au cours des 6 dernières années (depuis que j'ai transformé son ancienne chambre en mon bureau à domicile) ici dans le garage, et ils se sont bien débrouillés. Ils devraient donc continuer à bien fonctionner ici.
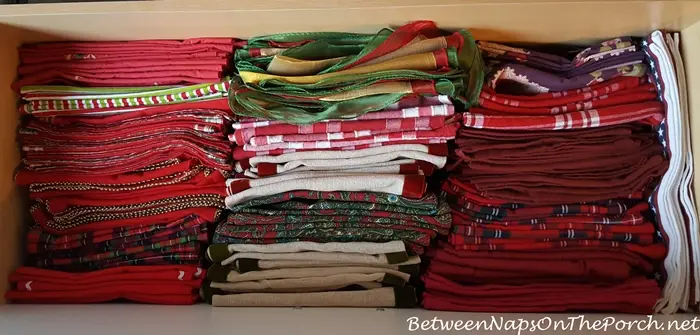
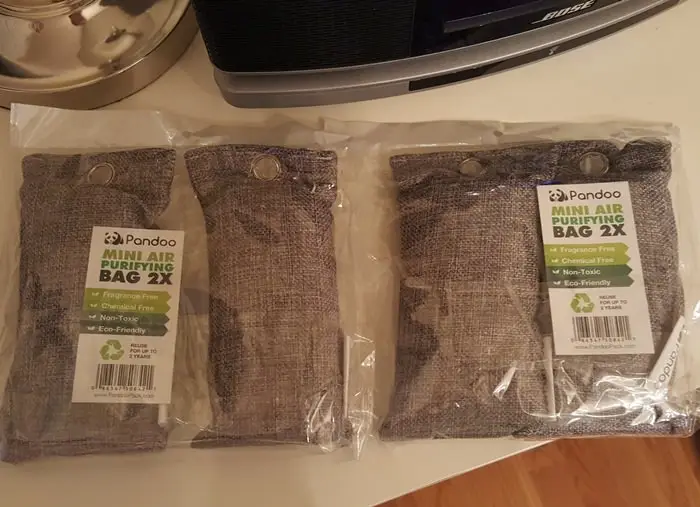
Je les ai commandés et ils sont parfaits pour les zones à forte humidité. J'en ai jeté un dans chaque tiroir. J’aime qu’ils n’aient aucune odeur. Si vous avez besoin de quelque chose pour lutter contre l'humidité ou les odeurs causées par l'humidité, vous le trouverez ici : Sac de charbon de bambou.
Grande vente
Talbots propose actuellement une énorme vente, 60 % de réduction sur les accessoires et les chaussures Markdown. Ils ont également des ventes sur une tonne d’autres choses. J'ai commandé cette chemise à moitié prix, ICI.

J'ai aussi commandé celle en lin. J'adore les chemises à rayures bleues et blanches. J'ai déjà cette chemise en blanc et en couleur taupe/beige et je l'adore. Je connais les plis du lin, mais il est si confortable lors des journées chaudes et humides que je ne peux pas y résister pour l’été. Vous le trouverez ici : Chemise en lin.

J'ai attendu tout l'étéJ'attendais depuis longtemps que Talbots stocke des jeggings blancs et ils l'ont finalement fait ! Ils ne font pas partie de la vente, mais j'ai vu un code sur le site Web de Talbots plus tôt dans la journée qui disait que vous pouviez obtenir 25 % de réduction sur n'importe quel article à prix plein avec le code : SUMMER25. Je n'ai pas revu ce message plus tard dans la journée, mais je l'ai essayé au moment du paiement et cela a fonctionné !
J'espère qu'ils me vont aussi bien que mes jeggings bleu foncé de Talbots. Vous les trouverez ici : Jeggings blancs.
D'accord, je suis fatigué... il est définitivement temps de passer une bonne nuit de sommeil. Au plaisir de partager très bientôt un mur d’armoires de décoration de table avec vous ! Croisons les doigts, ils arrivent tous en bonne forme cette fois-ci. J'espère donc qu'ils le feront !