Notre chambre principale
XOXO,


Couleur du mur : Farrow & Balle toute blanche
Partageons l'« avant » et l'« après » (en fait, les « après » puisque cet espace a subi deux transformations au cours de la période où nous avons vécu dans notre maison) de notre chambre principale !
(l'article comprend des liens d'affiliation - déclaration de divulgation complète disponible {ici})
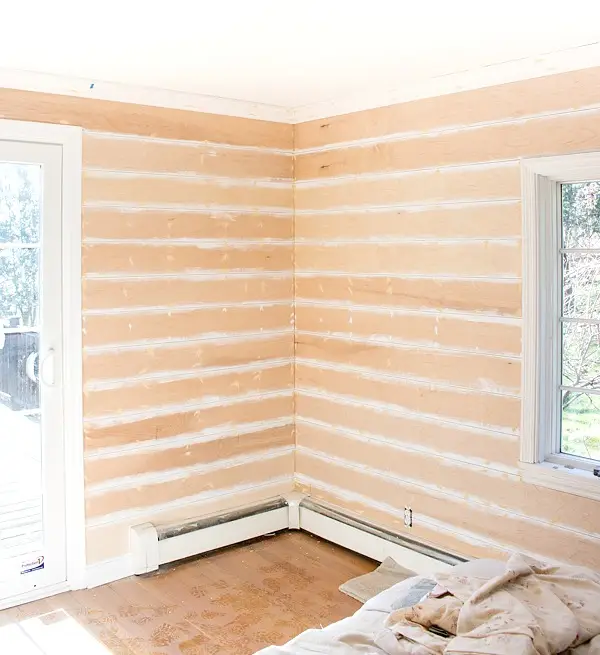
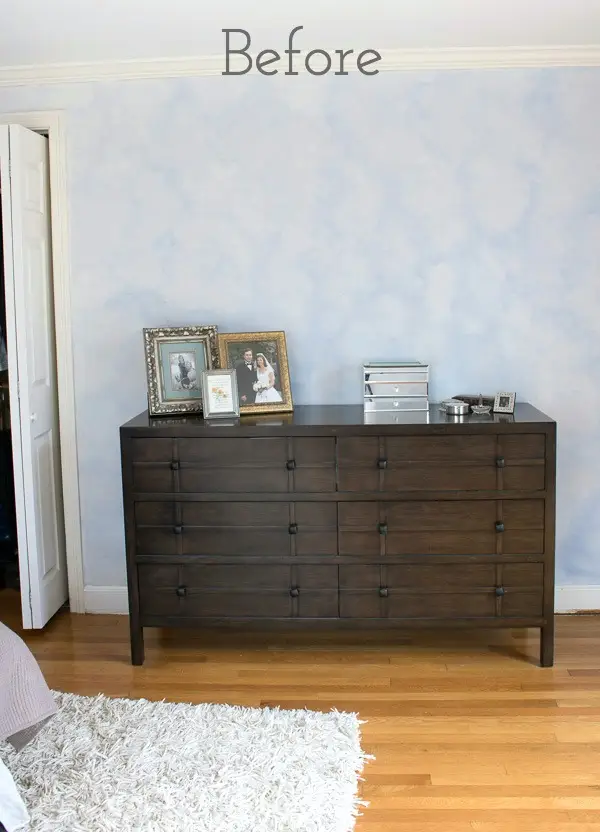
Notre chambre principale était un sacré spectacle lorsque nous avons emménagé pour la première fois - il faut adorer les murs bleus en faux fini, la lampe de chevet suspendue et le méli-mélo de meubles :
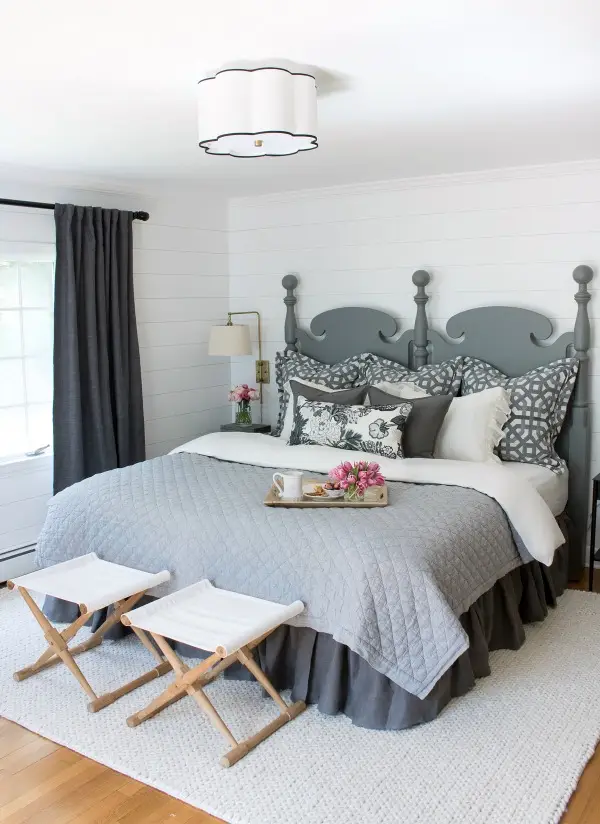
Nous avons vécu ainsi pendant trois longues années pendant que nous nous concentrions sur la rénovation d'autres parties de notre maison, mais ensuite j'ai rejoint le One Room Challenge et en l'espace de six semaines, notre chambre a subi la première de ses deux transformations. Voici le nouveau look relooké :
L'un des changements les plus évidents concerne les murs - tout le désordre fissuré et en faux fini a été recouvert de faux lambris :
et peint en Farrow & Le tout blanc de Ball a fourni la toile de fond parfaite pour tous les tons gris que j'ai jetés dans l'espace. Je partage tous les détails pour bricoler vos propres murs en planches à clin dans mon article complet sur nos murs en planches à clin DIY .
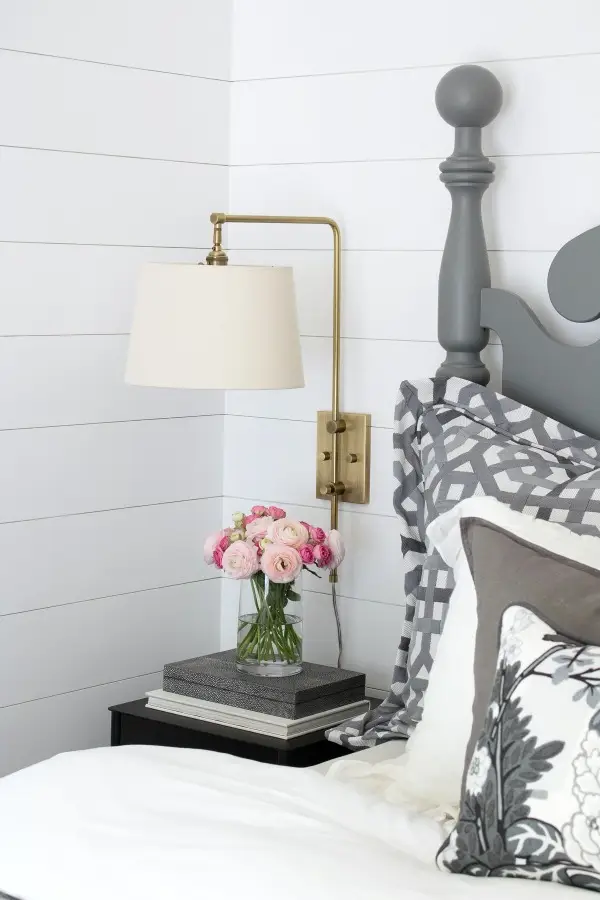
J'avais un délai serré pour obtenir une nouvelle tête de lit afin de terminer pour la révélation de mon One Room Challenge, alors j'ai fini par attraper cette tête de lit bon marché sur Craigslist, en lui ajoutant un peu de hauteur supplémentaire,
et en la peignant avec de la laine d'acier Benjamin Moore. Pour la literie, mon point de départ était leTissu Schumacher sur le coussin avant, qui a été confectionné pour moi par la charmante Linda de Pillow Time Girls. Vous pouvez le trouver dans sa boutique Etsy en format carré {ici} mais elle confectionnera également des commandes personnalisées dans n'importe quelle taille dont vous avez besoin.
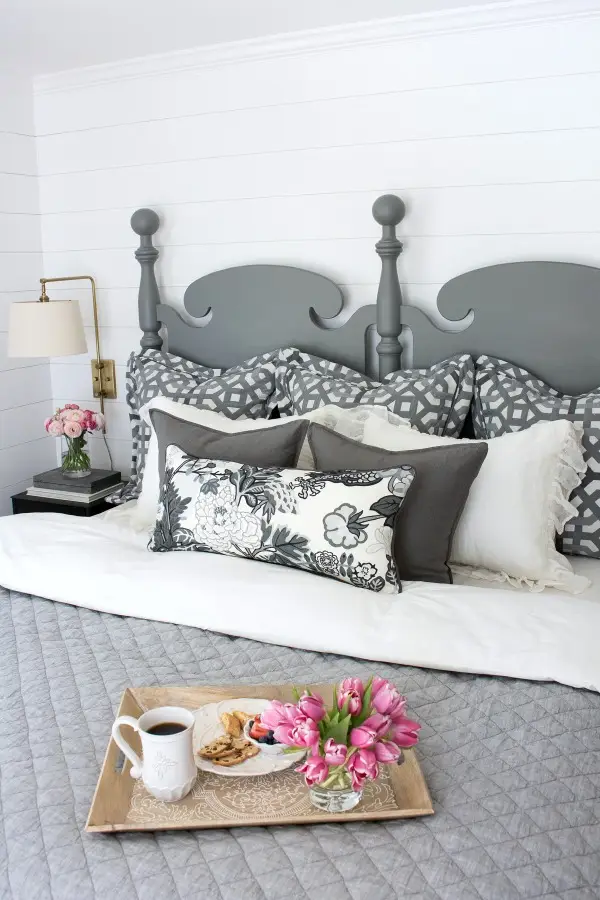
Les taies décoratives en lin sont {ces beautés} et les taies décoratives en euros ont été fabriquées avec {ce magnifique tissu intérieur/extérieur}. La courtepointe est {celle-ci} en Flagstone – elle a définitivement résisté à l’épreuve du temps et elle se lave comme un rêve ! Les rideaux sont {ces occultants doublés} en anthracite et la jupe de lit à volants en lin provient de Pine Cone Hill mais n'est plus disponible.
Pour l'éclairage des deux côtés du lit, j'ai opté pour {ces appliques à bras oscillants } afin que nous n'ayons pas de lampes qui occupent le peu d'espace dont nous disposons sur la table de nuit. Les appliques pivotent vers le lit, peuvent être relevées de haut en bas et les stores pivotent en haut – j'adore ! Et en parlant de tables de nuit, les tables de nuit que j'avais achetées pour la chambre ont fini par être trop larges après avoir opté pour une tête de lit plus large que prévu, alors je me suis retrouvé avec {ces tables de nuit en bronze à canon de 16 pouces de large}. Il est difficile de trouver des tables de chevet aussi étroites que celle-ci. J'ai rassemblé mes 15 tables de chevet étroites préférées dans {cet article} si vous êtes à la recherche !
Au pied du lit, je suis resté fidèle à mon plan de conception original et j'ai utilisé {cette paire de tabourets de camp} qui sont l'endroit idéal pour empiler tous nos nouveaux oreillers de lit.avant de se coucher le soir. Le tapis est {cette beauté tressée} qui a ajouté une superbe texture.

Pour l'éclairage zénithal, j'ai remplacé l'ancienne lampe à seins par cette beauté festonnée trouvée {ici} – mon amour il! Vous pouvez consulter mes autres éclairages encastrés favoris dans {cet article}.
Et avez-vous remarqué quelques autres changements dans ce coin auparavant laid ?
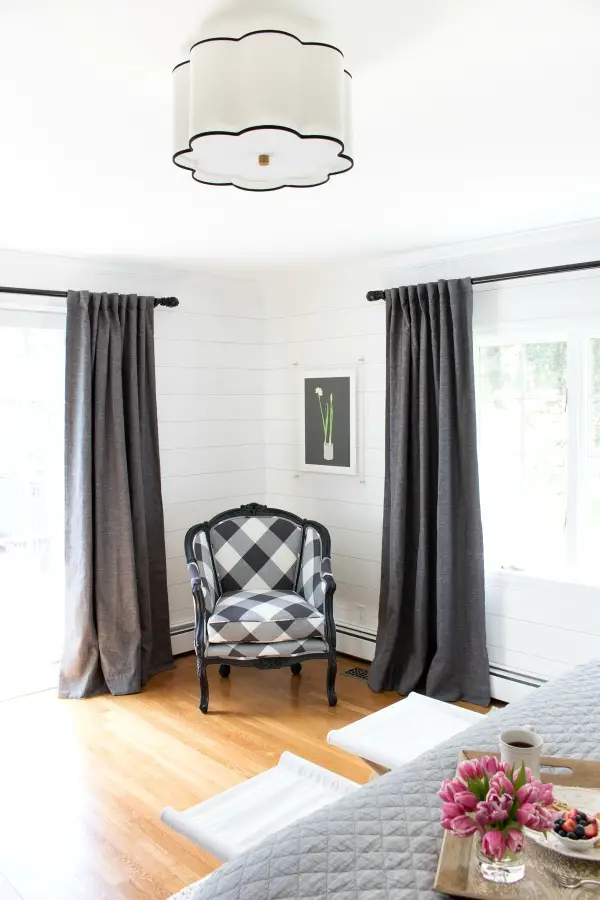
D'une part, ma chaise usée a eu une nouvelle vie après avoir été peinte avec des finitions en velours « luxueuses » et recouverte d'un tissu à carreaux de buffle surdimensionné – j'en suis totalement séduit ! Et j'ai une nouvelle œuvre d'art – il s'agit de {ce tirage Minted} de Jorey Hurley encadré dans un superbe cadre en acrylique et en laiton trouvé {ici} :
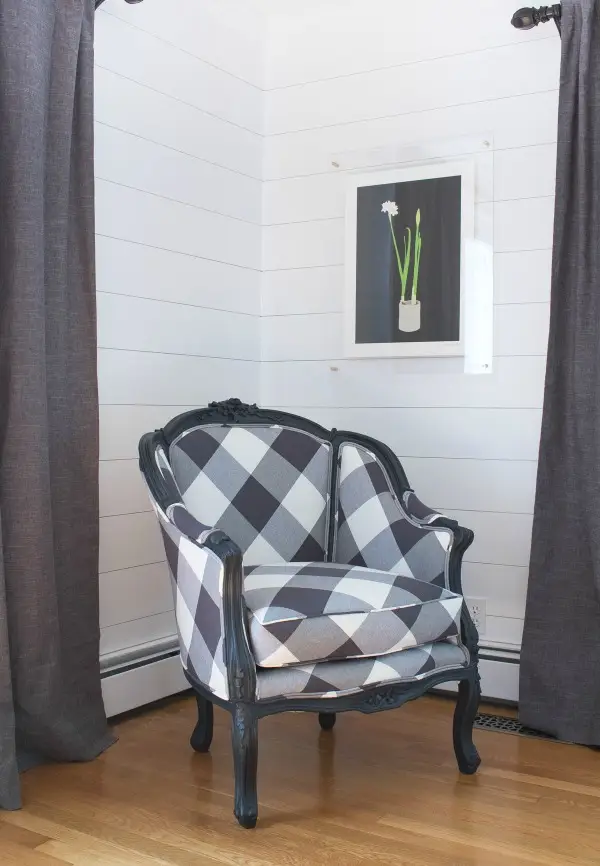
Les photos ne font pas ça frame justice – c'est magnifique !!
De l'autre côté de la rue, les choses avaient aussi l'air sacrément tristes avant notre relooking. Nous avions une commode en bois sombre avec rien sur le mur au-dessus :
J'ai gardé la commode mais je lui ai donné un tout nouveau look avec quelques couches de peinture et j'ai accroché {ce grand miroir rond} au-dessus. Le miroir est venu dans une belle finition bronze, mais j'ai utilisé {ce truc incroyable} pour passer rapidement et facilement à une finition à la feuille d'or qui correspond un peu mieux au design de mon espace :
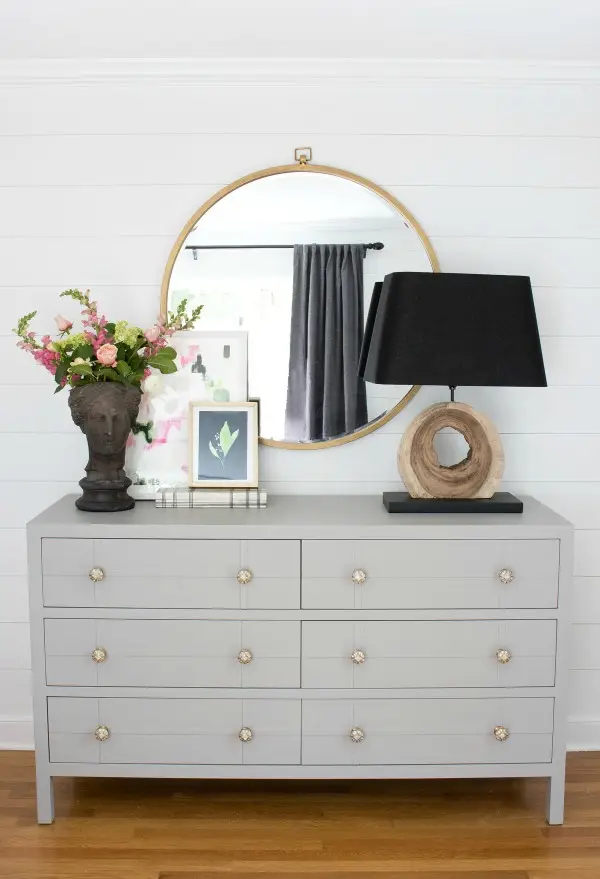
La couleur de la peinture de la commode est Farrow & Ball’s Worsted qui est un riche grège. C'est vraiment une couleur magnifique avec beaucoup deprofondeur. Les boutons de commode sont {ces boutons en nacre} qui sont mes favoris indéfectibles :
J'ai gardé le style de ma commode super simple avec {cette lampe}, ma une tête de jardinière économe et deux œuvres d'art superposées de Minted, dont {cette pièce} de Melanie Severin et {cette pièce} de Renee Anne :
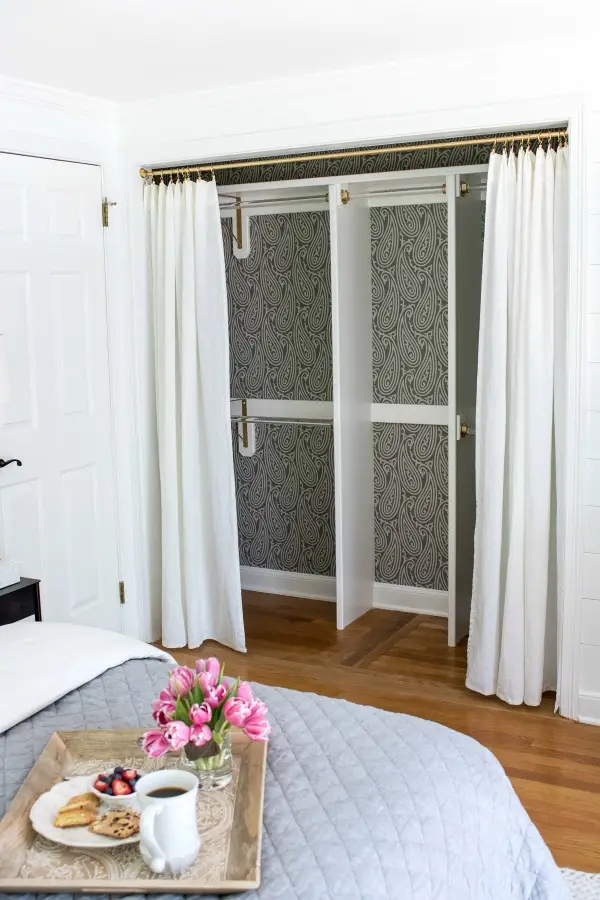
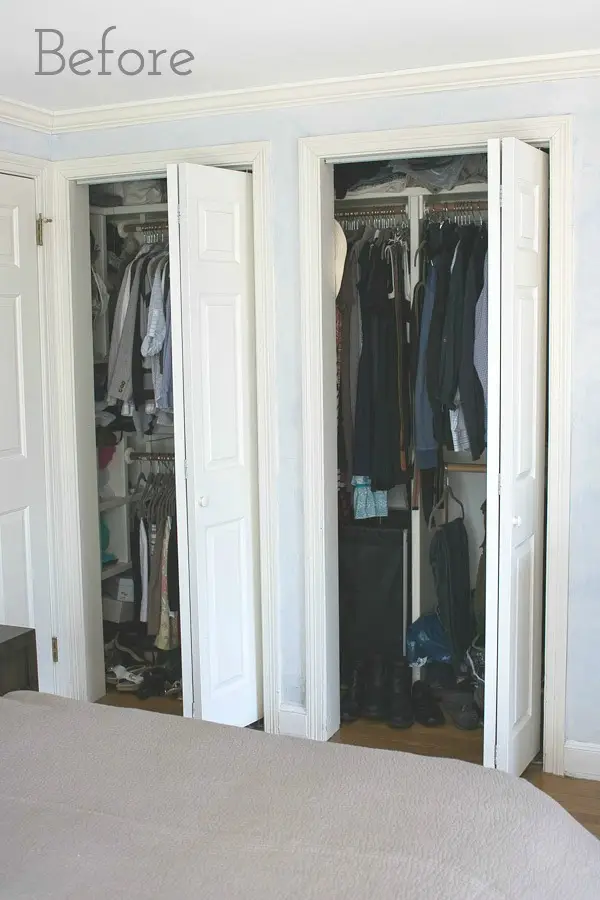
Notre placard a reçu un le relooking aussi ! Avant, il y avait deux portes pliantes et une section centrale qui rendaient la moitié du placard très difficile d'accès. Donc pas cool :
J'ai demandé à mon entrepreneur de retirer les portes et le support central, puis j'ai fait tapisser l'arrière du placard avec {ce phénoménal Farrow & Boule de papier cachemire}. J'ai également jeté les vieilles tringles à vêtements en bois sur le trottoir et ajouté de nouvelles tringles glamour en acrylique et en or :
À l'ouverture du placard, j'ai ajouté une tringle (un spray tuyau de plomberie peint de Lowe's) et des rideaux IKEA en lin blanc que je peux fermer en cas de besoin :
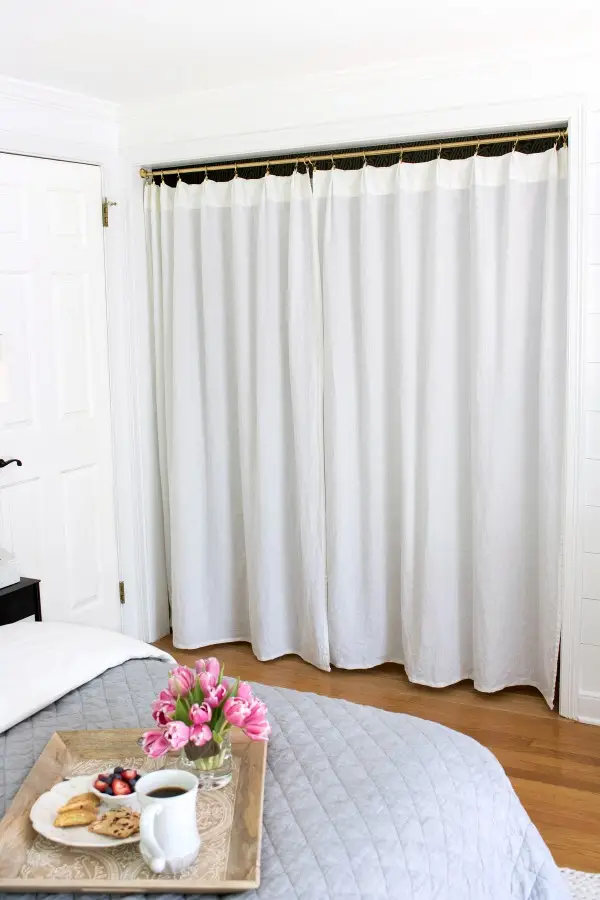
Pour plus de détails sur la transformation de notre placard, voir {cet article }
Mais allez, qui veut fermer les rideaux quand on a cette beauté à l'intérieur ??
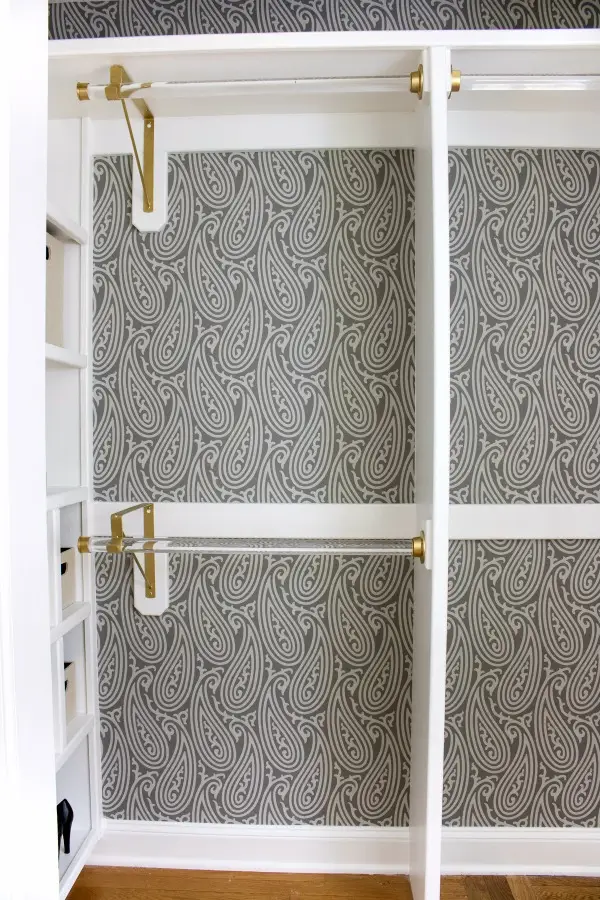
Nous avions déjà construit- dans les étagères du côté gauche du placard, mais je ne l'ai jamais utilisé de manière très efficace – j'ai eu la chance de trouver chez Lowes de superbes bacs en tissu qui s'adaptaient parfaitement à mon espace ! Maintenant, au lieu d'essayer de voir ce qui est enfoui dans le noirJe peux simplement sortir les bacs en tissu et voir facilement ce qu'il y a à l'intérieur :
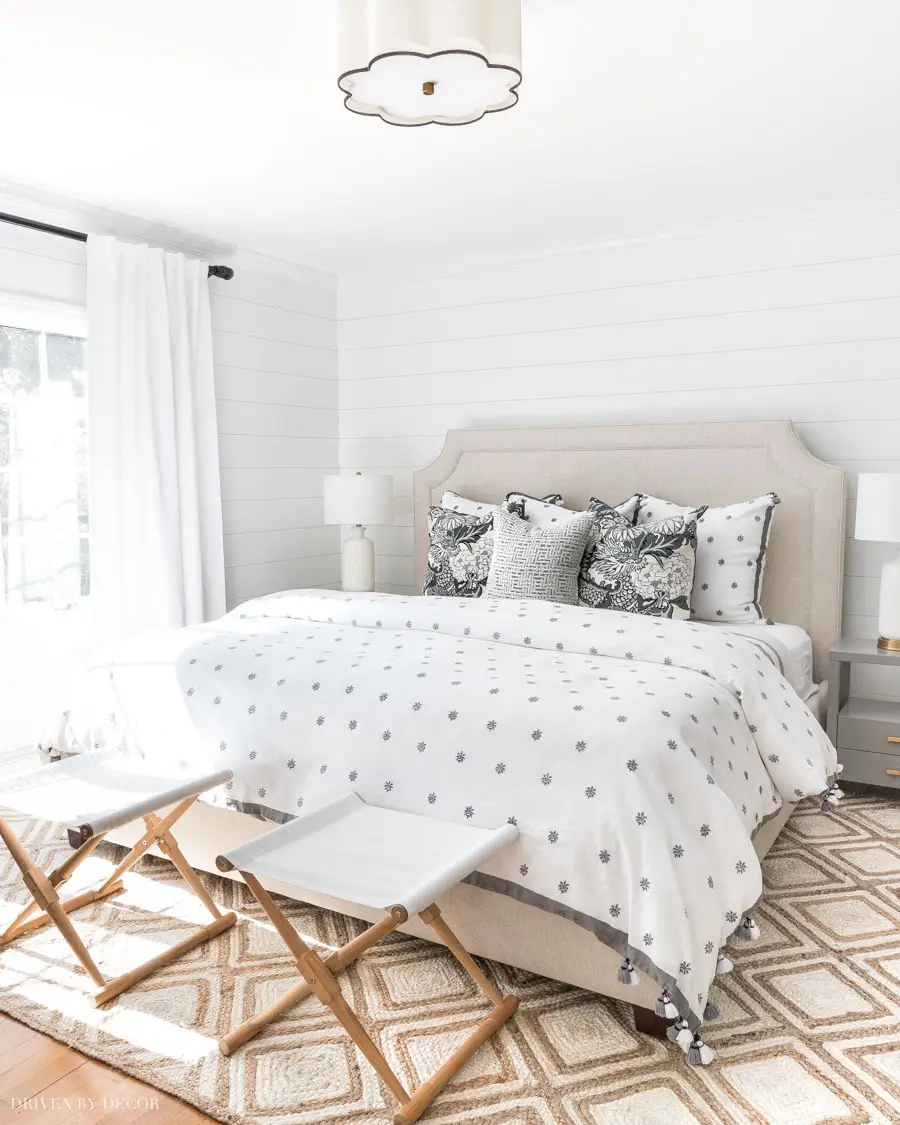
Cela conclut le relooking n°1, mais quelques années plus tard, j'ai finalement acheté le lit. J'en avais envie depuis toujours et j'ai également rafraîchi un peu la pièce avec quelques nouveaux ajouts :
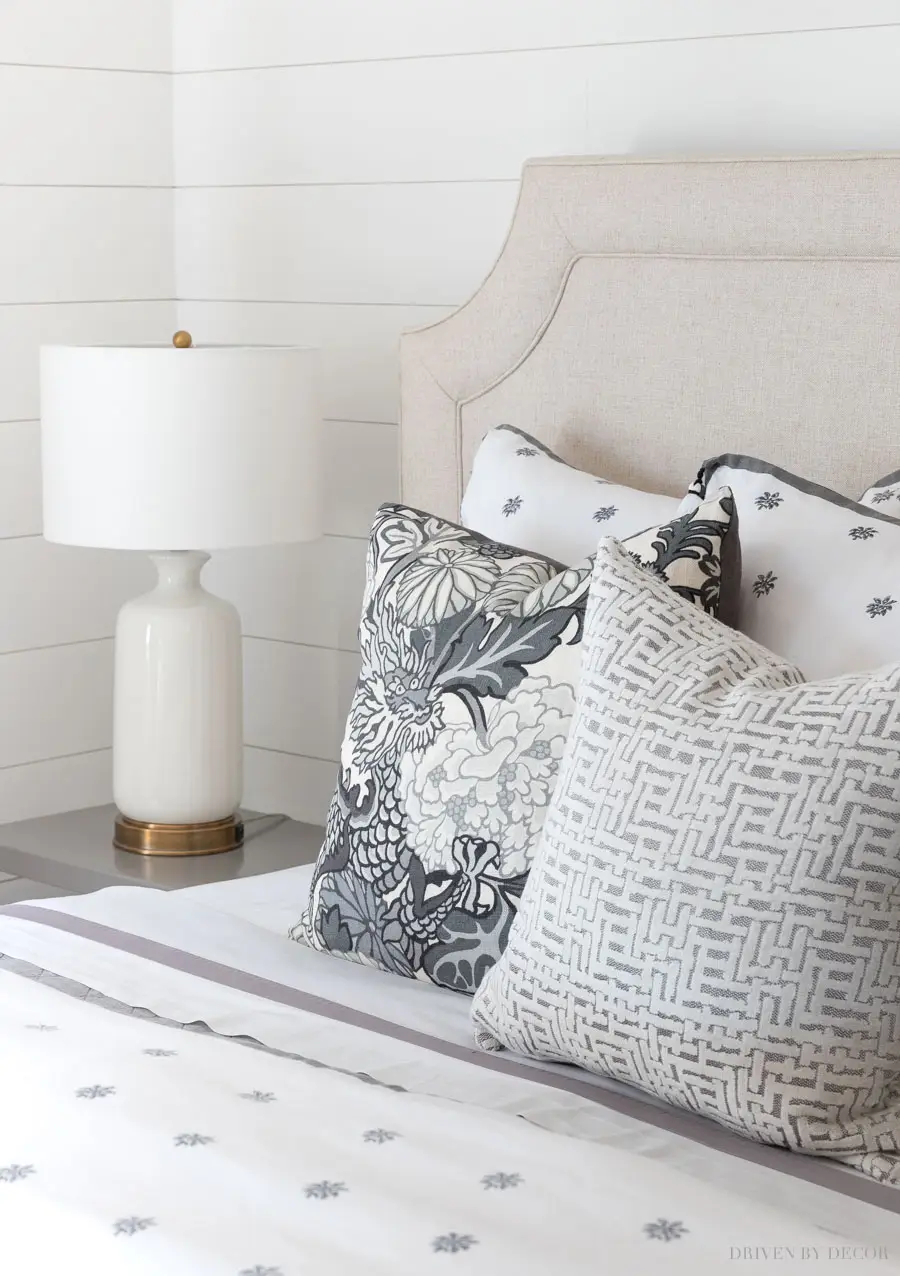
J'ai acheté {ce lit rembourré} dans un superbe tissu neutre - je j’adore le style classique et simple. J'ai également remplacé le tapis par {cette beauté en jute tressée} que vous pouvez voir davantage dans {cet article}. J'ai également changé les tables de nuit puisque notre nouveau lit est beaucoup plus bas, donc des tables de nuit plus courtes étaient nécessaires – j'ai opté pour {ces tables de nuit grises} qui fonctionnent à merveille :
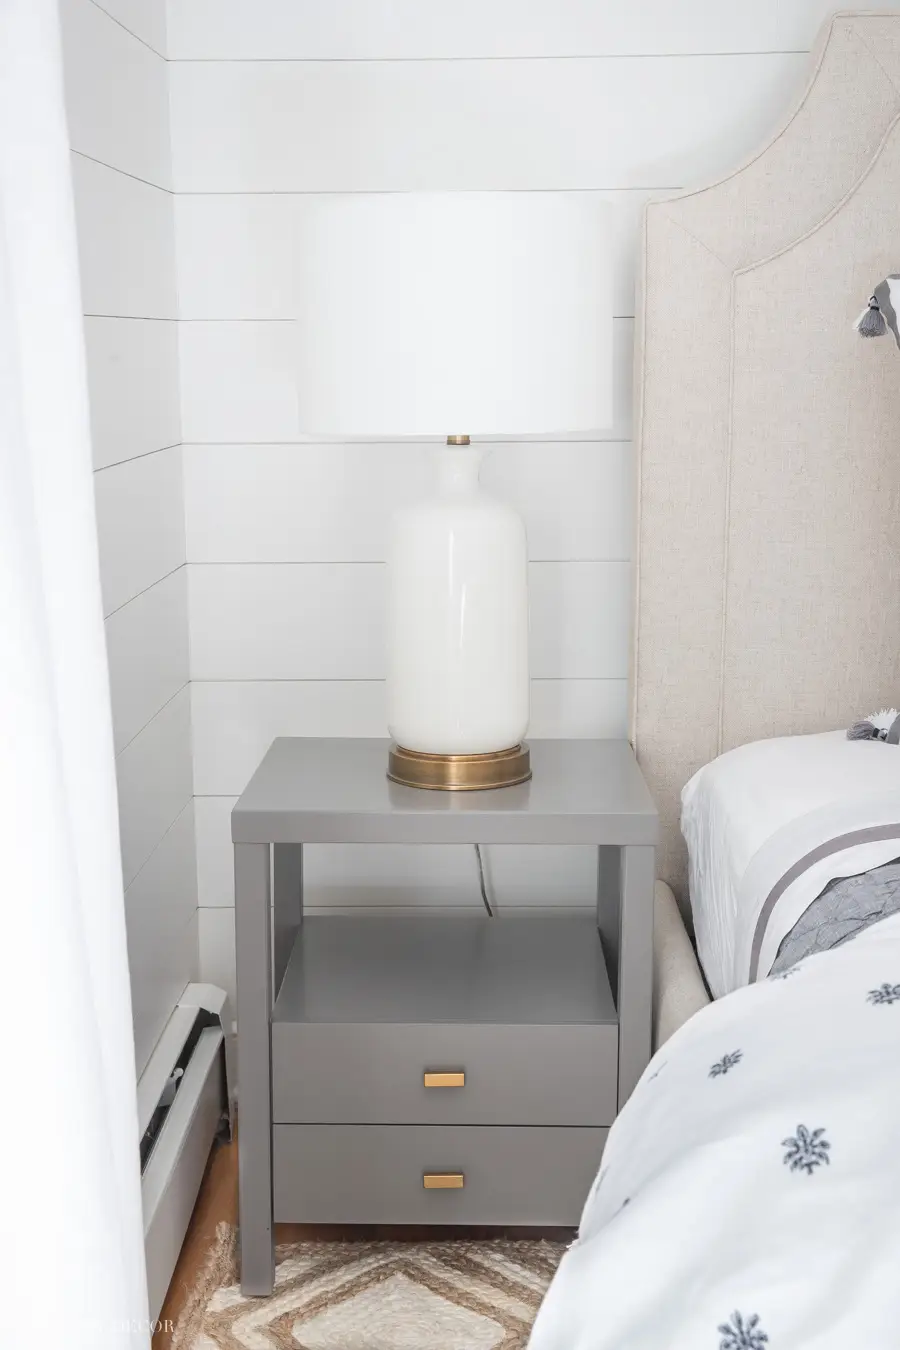
Pour les lampes de chevet, J'ai choisi {ces lampes USB} parce que j'aime la commodité de pouvoir recharger mon téléphone au chevet. J'ai gardé {cette courtepointe en lin gris} et j'ai ajouté {cette couette & impostures}. Mes oreillers sont {ces oreillers de dragon gris et blanc} et {cet oreiller en velours hachuré} :
Les tabourets de camp (trouvés {ici}) et le plafonnier festonné {trouvé ici } resté le même. Pour éclaircir la pièce, j’ai remplacé les rideaux gris foncé par des blancs – j’ai opté pour ceux-ci qui sont de la même marque et du même style – ils font définitivement partie de mes préférés ! Le look récemment rafraîchi se marie si bien avec notre nouvel ajout à la salle de bains principale : j'adore la façon dont ces deux espaces s'articulent !
Merci d'être venux10)